The UserID and UserPrincipalName are critical data fields within the IDMS and CMS because these values link the IDMS, CMS, and credential. Therefore, when a PIV credential needs to be re-encoded with different UserID or UserPrincipalName value, the system must be carefully updated in order to ensure the credential can be reused. This change process occurs in the following three phases:
Phase 1 - Obtain the CMS user ID and IDMS External Key Value: This process will enable the key values to be located.
Phase 2 - Prepare the credential: This process will prepare the credential so it can be reused.
Phase 3 - Update the information and re-encode the credential: This process will re synchronize the data among the various systems so the credential can be encoded.
Phase 1 - Obtain the CMS user ID and IDMS External Key Value:
|
Step Number |
Procedure |
Example |
|---|---|---|
|
1 |
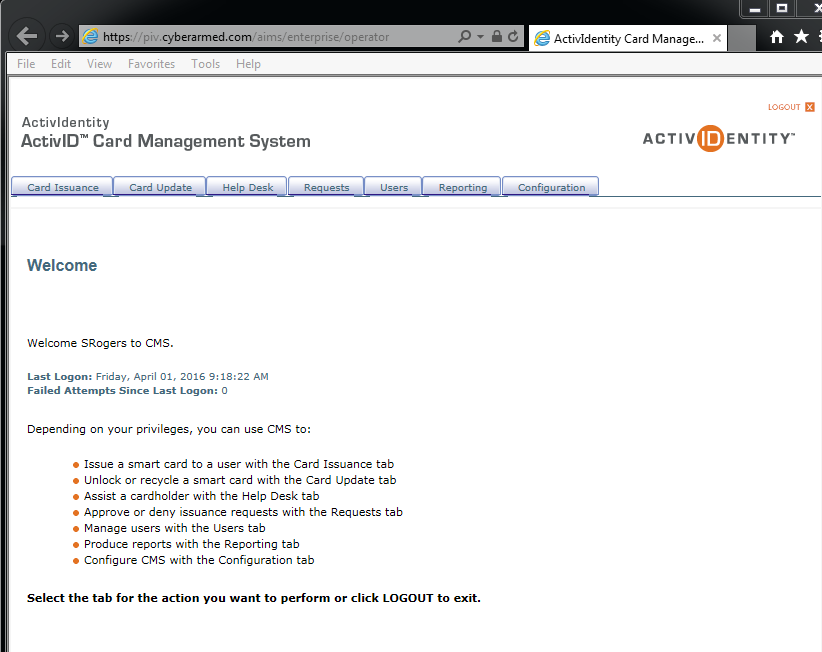
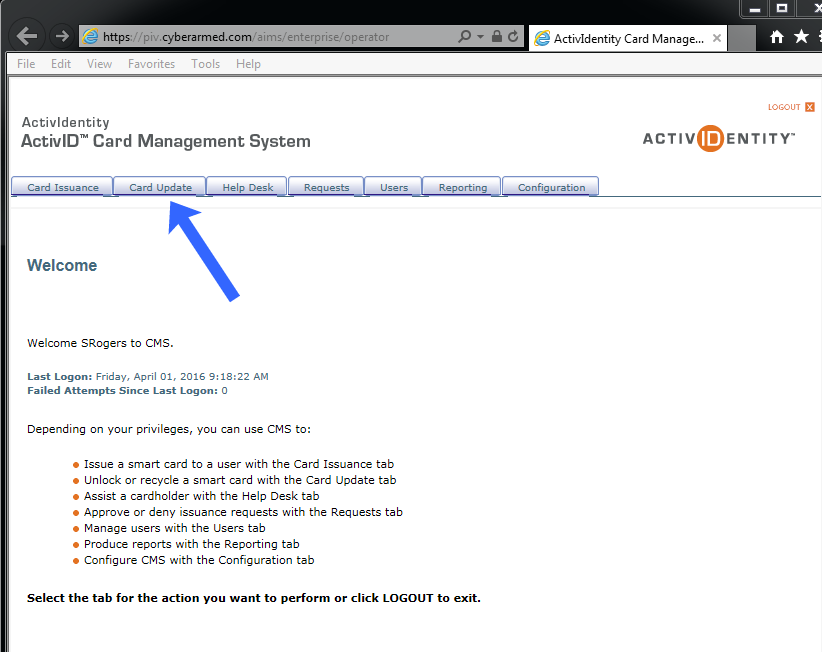
Open the credential management operator portal. |
|
|
2 |
Insert the user's credential into the reader. |
|
|
3 |
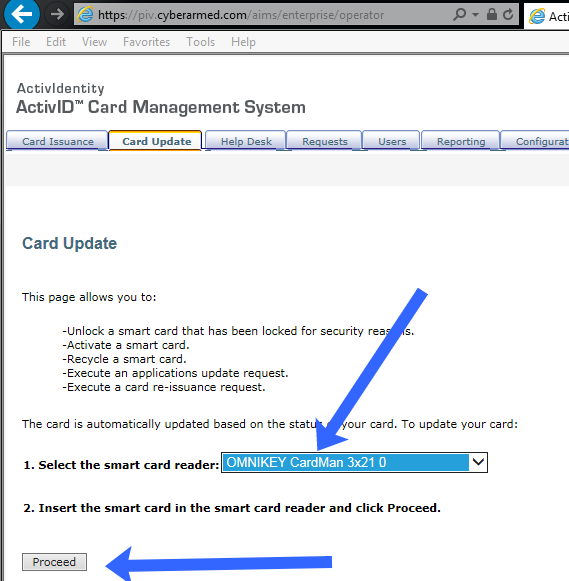
Click the card update button on the CMS Portal. |
|
|
4 |
Select the reader user's credential is inserted into and press proceed. |
|
|
5 |
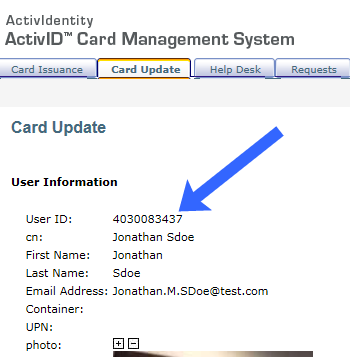
Document the User ID of the user. In this example, the user ID is 4030083437. |
|
|
6 |
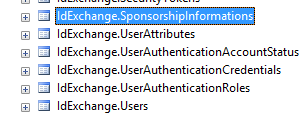
Now that the CMS user ID has been obtained, open the IDMS database and locate the SponsorshipInformations table. |
|
|
7 |
Open the SponsorshipInformations table and within the ExternalIdKey column, look up the ID that noted in step 5. In this example, we are looking up user Id 4030083437 . |

|
|
8 |
Phase is complete. |
In this phase, the external ID key was successfully located. |
Phase 2: Prepare the credential
|
Step Number |
Procedure |
Example |
|---|---|---|
|
1 |
Open the CMS portal. |
|
|
2 |
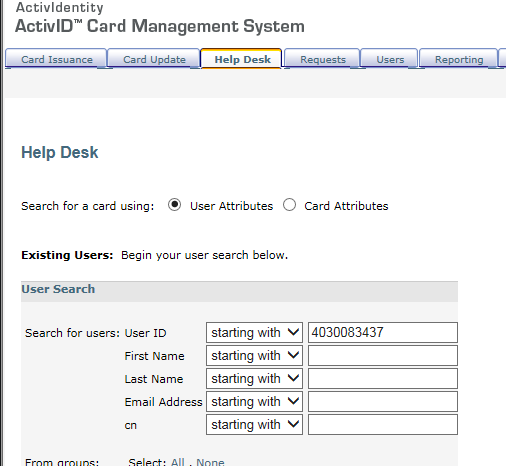
Go to the help desk and search for the user. In this example, we are searching for user 4030083437. |
|
|
3 |
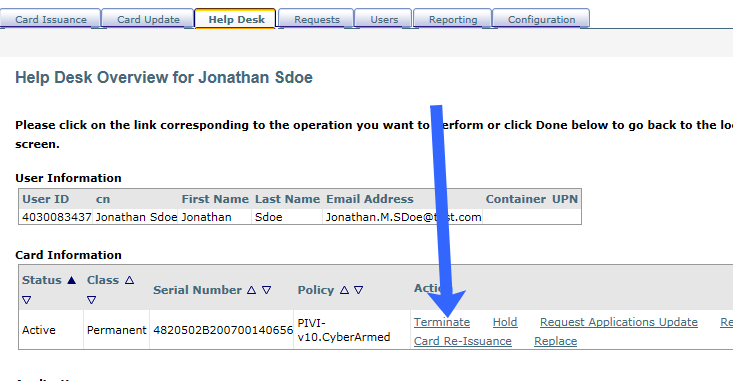
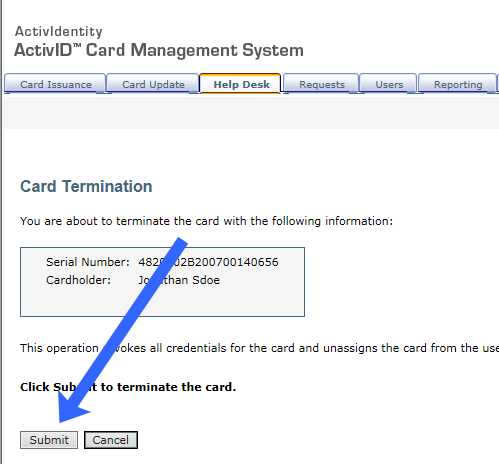
After the user is located, press Terminate. |
|
|
4 |
Press Submit. |
|
|
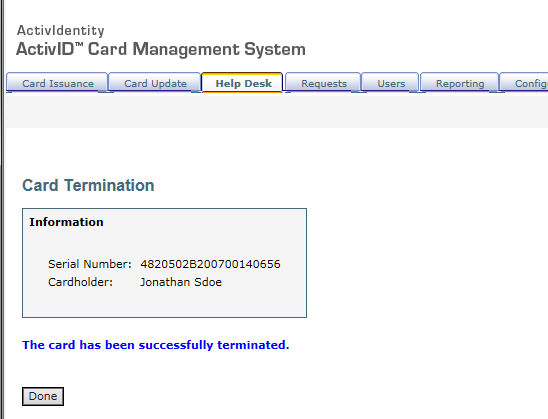
5 |
The credential will be terminated. |
|
|
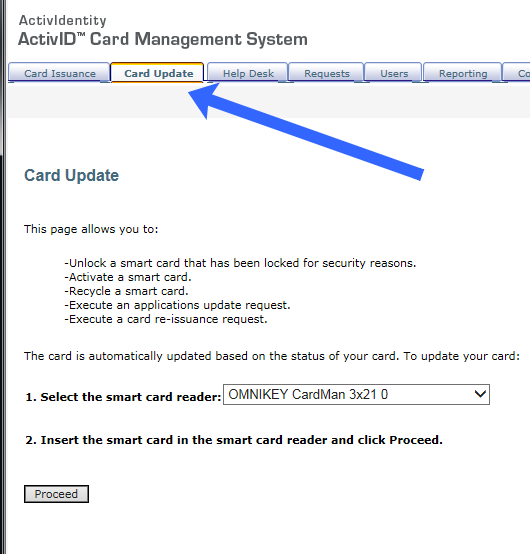
6 |
Now click the Card Update tab. |
|
|
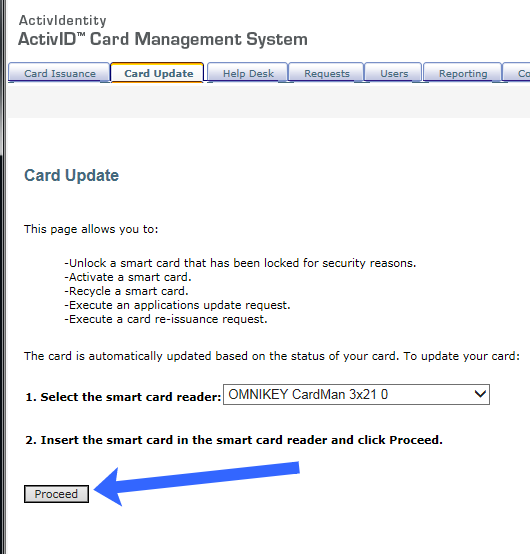
7 |
Select the reader that the user's credential is inserted to and press proceed. |
|
|
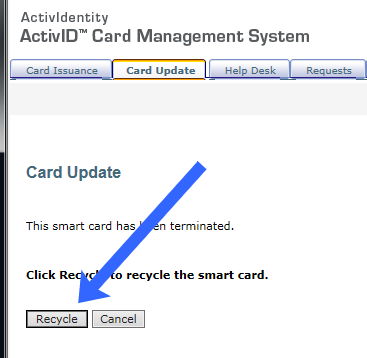
8 |
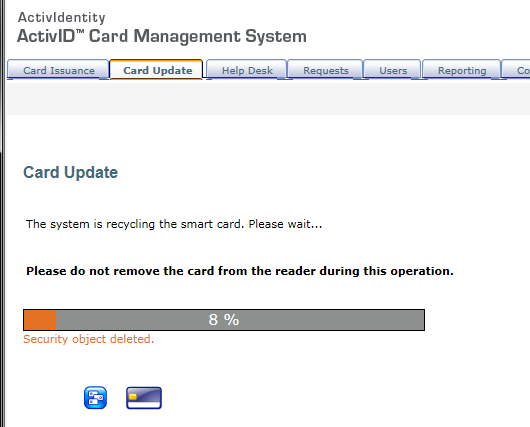
Press Recycle. |
|
|
9 |
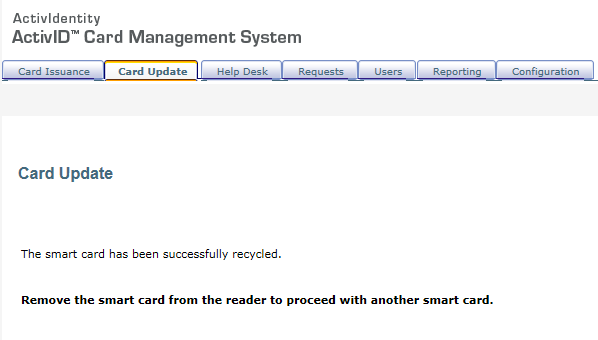
The credential will be recycled and prepared for another use. |
|
|
10 |
The credential is recycled and ready to be used again. |
|
|
11 |
Complete. |
The credential is ready for reuse. |
Phase 3: Update the information and re-encode the credential.
In this phase, the updates to the active directory account will be made. Next, the IDMS will be synchronized and finally, the credential will be reencoded.
|
Step Number |
Procedure |
Example |
|---|---|---|
|
1 |
Make the required changes to the Active Directory Account. |
|
|
2 |
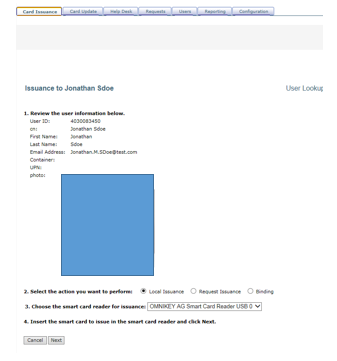
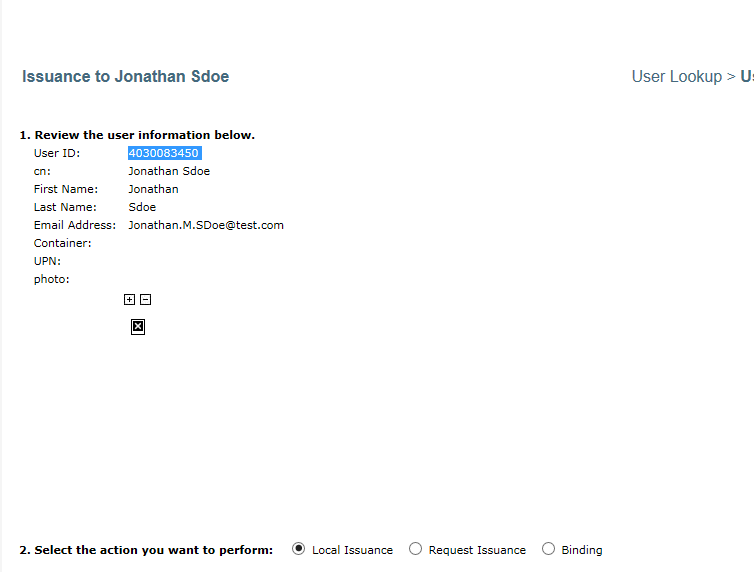
Open the CMS, go to card issuance and search by the new user ID that was just created. In this example, we created a new User ID 4030083450. Note that when the user is retrieved, the photo is not located. To correct this, we will synchronize the IDMS. |
|
|
3 |
Next, open the IDMS SponsorshipInformations table and update the external key. In this example, we updated external ID key 4030083437 to 4030083450. |
|
|
4 |
Next, go to the IdExchange.Requests Table and locate the user. In this example, the user ID is 1000000190. |
Their IdExchange.Requests table value is: APPROVED |
|
5 |
After locating the user's request state in the IdExchange.Requests table, changed APPROVED to IDACQUIRED. |

|
|
6 |
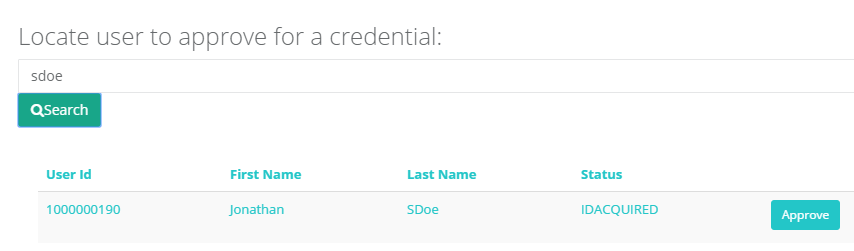
Go to the IDMS portal and locate the user. Press Approve. |
|
|
7 |
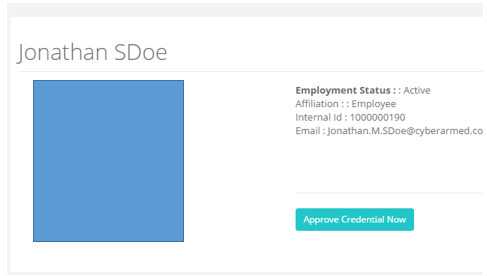
Press the approve credential now. This will synchronize the data with the new user ID.
*note: for privacy, the actual picture was blocked out with the blue rectangle. |
|
|
8 |
Go back to the CMS operator portal and search for the user. The photo is now present. *note: for privacy, the actual picture was blocked out with the blue rectangle. |
|
|
9 |
The credential can now be encoded using the regular activation procedures. |
|
|
10 |
Complete. |
The credential has been re-encoded with the new information. |