Enrolling a Third-Party Device in IDMS
Purpose
This procedure guides you through the process of enrolling a third-party issued credential device (such as a smart card or security token) into the organization’s IDMS. This allows the device to be registered with the physical and/or logical access systems.
Notes on directory update
If the credentials are being inserted into the directory, this process reconciles a 3rd-party PIV credential to its owner in Active Directory. The user is first located by the userPrincipalName parsed from the PIV Auth certificate (failing if multiple AD records share that UPN); if no match is found and the mailFallbackOnMissingUpn feature is enabled, it falls back to searching by the email address parsed from the certificate, failing if the email is missing from the certificate or matches zero or multiple AD records. On a successful match it writes the certificate's X.509 mapping into the user's altSecurityIdentities attribute, and — when the syncUpnToAdAttribute feature is enabled — also copies the UPN into a configurable AD attribute (default proxyAddresses, written as an smtp: alias).
Prerequisites Checklist
Before beginning this procedure, ensure you have:
Access to the IDMS system with appropriate enrollment permissions
Valid credentials to log into the IDMS portal
A compatible third-party device (smart card reader or token)
The physical credential card that will be enrolled
The card's PIN number
The credential type policy configured for device import
External identity linking key (if linking to existing identity systems)
Permissions set for adding an applicant
If syncing a card to the organization directory, the relying party is set. Relying Party: Active Directory
If recycling a card and you want to assign a previously used card to a new user, ensure you have completed expungement of the prior user to permanently delete them. Note a card in use cannot be issued to another user until the existing user is removed from the IDMS system.
Step 1: Access the IDMS System
Item | Procedure | Example |
|---|---|---|
1 | Open your web browser and navigate to the IDMS portal URL. Select certificate for authentication and complete PIN as applicable. | |
2 | Review the system warning message that appears, which outlines authorized use and monitoring policies. | 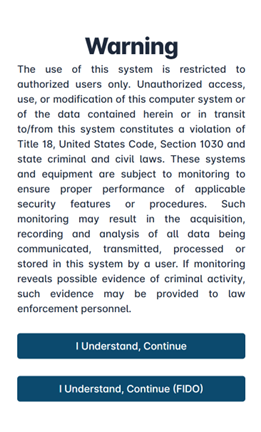 |
3 | Click the I Understand, Continue button to proceed to the system. You are brought to the home page. Note, use the top button for PKI and the bottom I Understand, Continue (FIDO) option for FIDO authentication. | 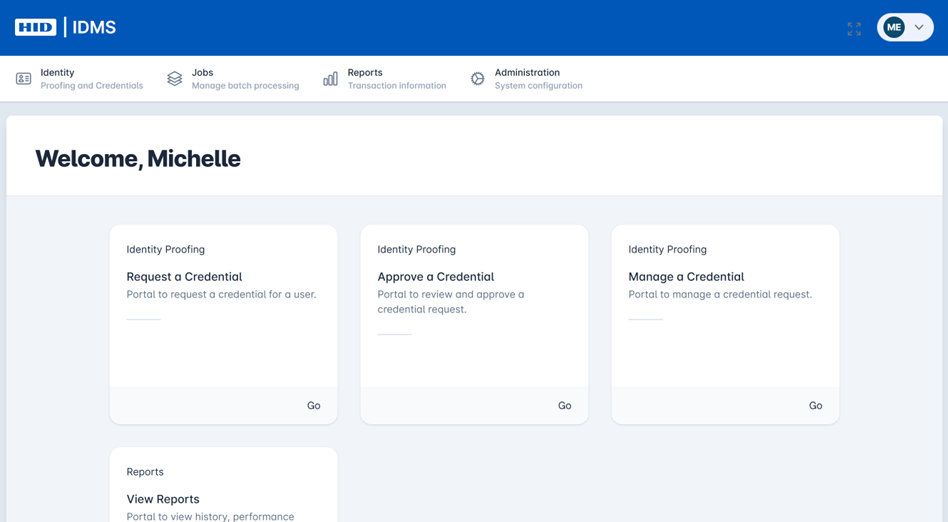 |
4 | Select the Identity tab and Click Add Applicant. | 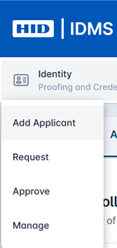 |
5 | The Add a New Applicant Screen will be displayed. | 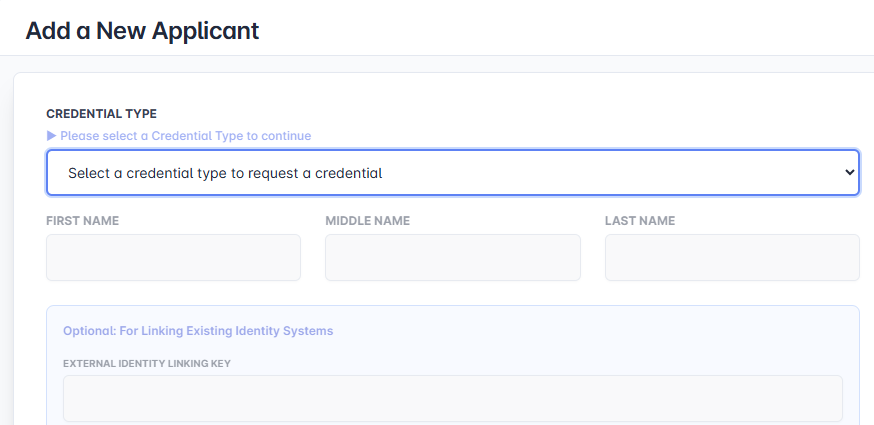 |
6 | Select the credential type that permits the enrollment of a third-party device. After selecting the credential type, the Import Application Data from Device button appears. | 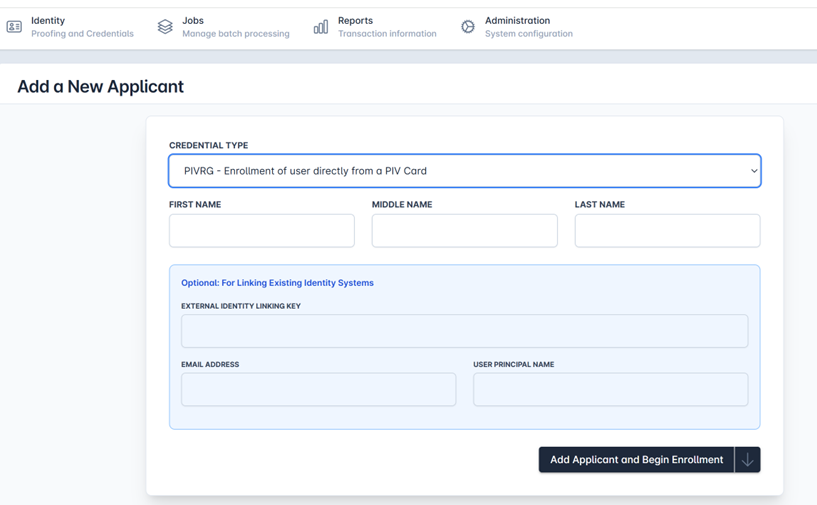 |
7 | Click the Import Application Data from Device button to launch the Device Selection Window. |
Expected Result: The user logs into IDMS and selects an appropriate credential policy to allow a third-party device registration.
Note: Credential policy must be configured to allow importing applicant data from device or button will not display.
Step 2: The Cardholder Inserts their Device
Request the cardholder to insert the device into the reader.
The system will load the device.
Expected Result: The system can pull in the existing card data to enroll a third-party device in IDMS.
Step 3: Select and Enroll the Physical Device
Item | Procedure | Example |
|---|---|---|
1 | A popup dialog titled Select the device: will appear. | 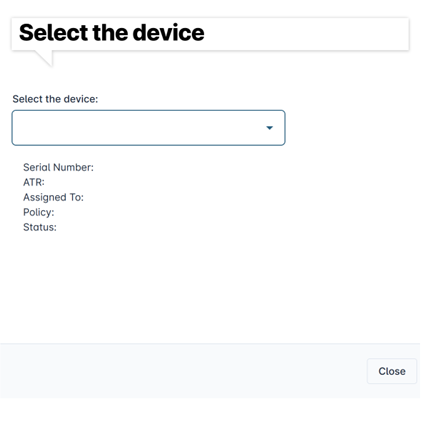 |
2 | In the Select the device: dropdown menu, click to view available connected devices. | 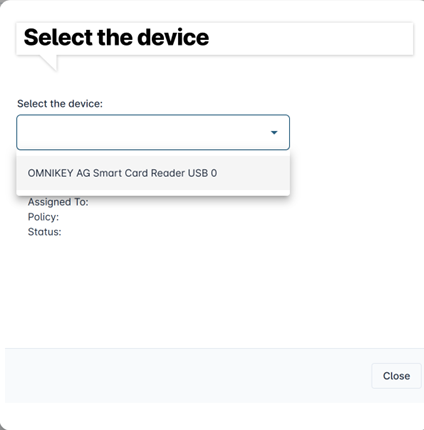 |
3 | Select the appropriate card reader device (e.g., "OMNIKEY CardMan 3x21 1") | 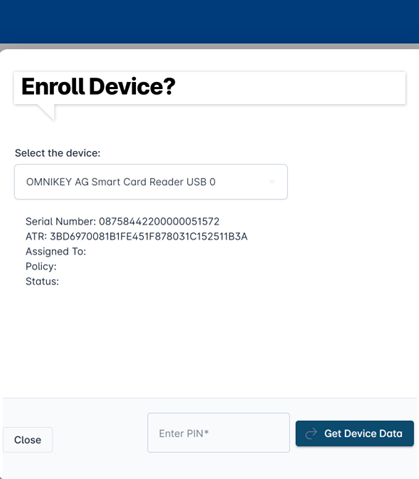 |
4 | Review the device information displayed pulled from the card:
| |
5 | When prompted, ask the applicant to enter their PIN number in the Enter PIN field. | |
6 | Click the Get Device Data button to read the credential information from the card. |  |
Expected Result: The system successfully reads the card data, and the device information is populated. The dialog shows "Enroll Device?" confirmation.
Step 4: Complete the Enrollment Package
Item | Procedure | Example |
|---|---|---|
1 | Click the Close button to return to the main applicant form. | |
2 | Verify that all information has been captured correctly:
| |
3 | At the bottom of the form, click Add Applicant and Review for Approval to submit the enrollment package. | 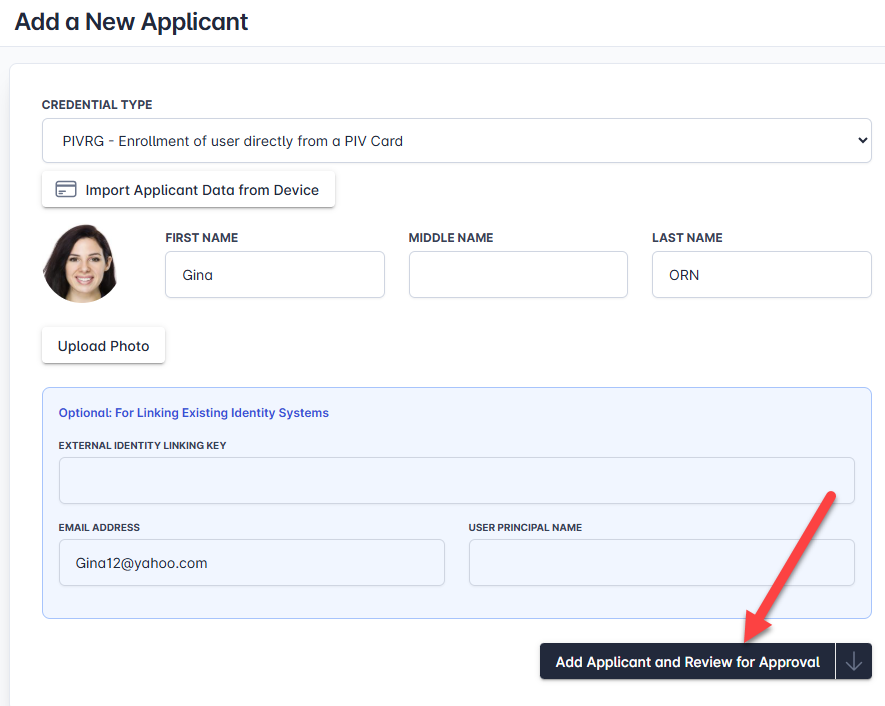 |
Expected Result: A "Processing..." indicator appears, showing that the enrollment package is being submitted to the system.
Step 5: Verify Successful Enrollment
Item | Procedure | Example |
|---|---|---|
1 | After processing completes, you are redirected to the applicant's identity record page. | |
2 | Verify the following information on the summary screen:
| |
3 | Click the Credentials tab to view enrolled devices. Verify the following:
| |
4 | Click Refresh if needed to update the displayed information. |
Expected Result: The applicant record shows an "APPROVED" status, and the credential device appears in the credentials list with "Added" status.
Note: If the credential is being inserted into the directory, review the Automation report for the following:
SCENARIO 1: Clean UPN match, altSecurityIdentities written
... and the following information was updated altSecurityIdentities updated for UPN [jdoe@contoso.com]
SCENARIO 2: Clean UPN match, altSecurityIdentities already had the value
... and the following information was updated altSecurityIdentities already current for UPN [jdoe@contoso.com]
SCENARIO 3: Mail-fallback reconciled UPN, then altSecurityIdentities written
... LACS UPN reconciled for SamAccountName [jdoe] - located by mail [jdoe@contoso.com], userPrincipalName updated from
[old@contoso.com] to [jdoe@contoso.com], altSecurityIdentities updated for UPN [jdoe@contoso.com]
SCENARIO 4: syncUpnToAdAttribute ran, then altSecurityIdentities written
... LACS UPN synced to AD attribute, proxyAddresses added [smtp:jdoe@contoso.com], altSecurityIdentities updated for
UPN [jdoe@contoso.com]