Installing the HID Fargo workbench
| Step Number | Procedure | Example |
|---|---|---|
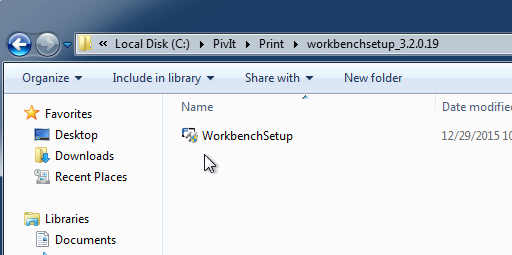
| 1 | Move to the Pivit\Print\workbenchsetup_3.2.0.19 folder. Run the WorkbenchSetup.msi |
|
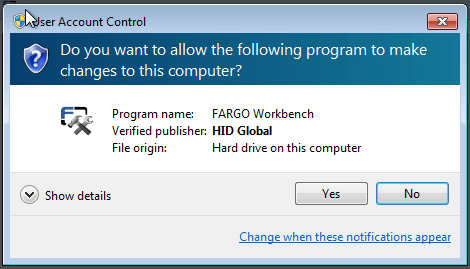
| 2 | If the user account control shows up, press Yes. |
|
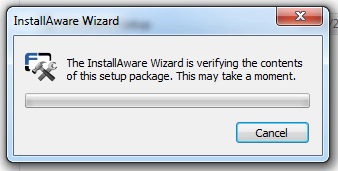
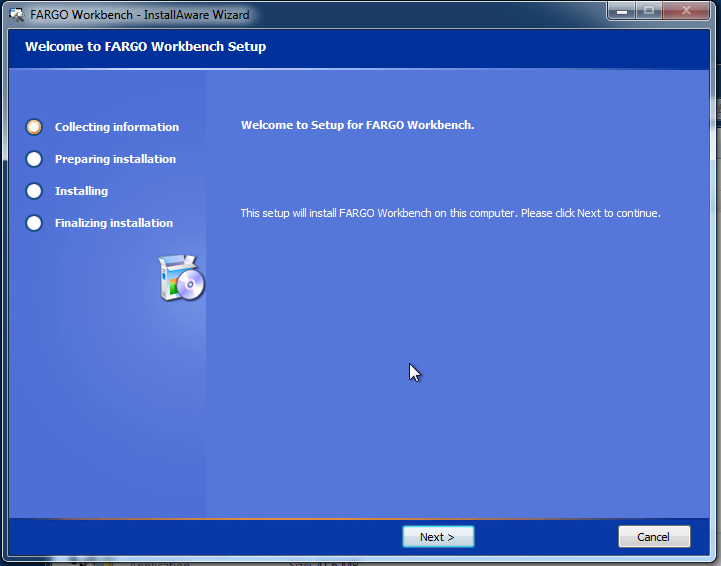
| 3 | The installation process will start. |
|
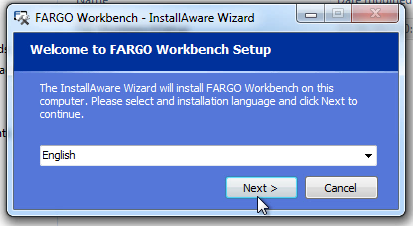
| 4 | Press the Next button. |
|
| 5 | Press the Next button. |
|
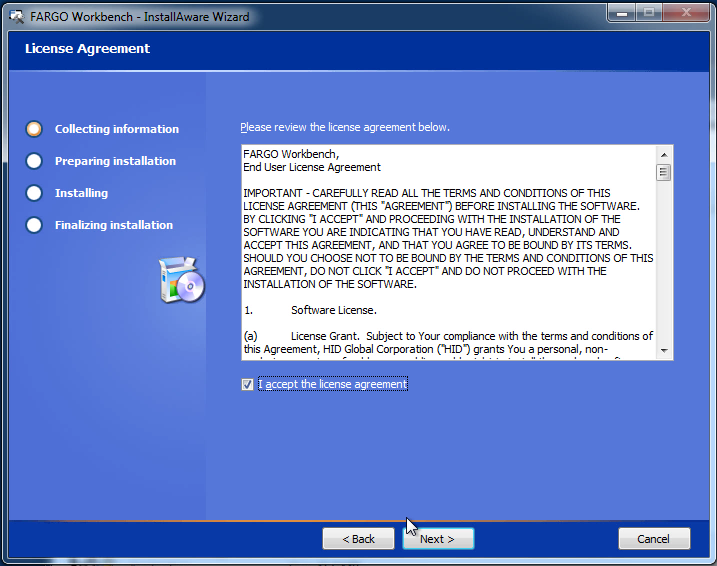
| 6 | Read the license agreement, click the "I accept the license agreement" box and press Next. |
|
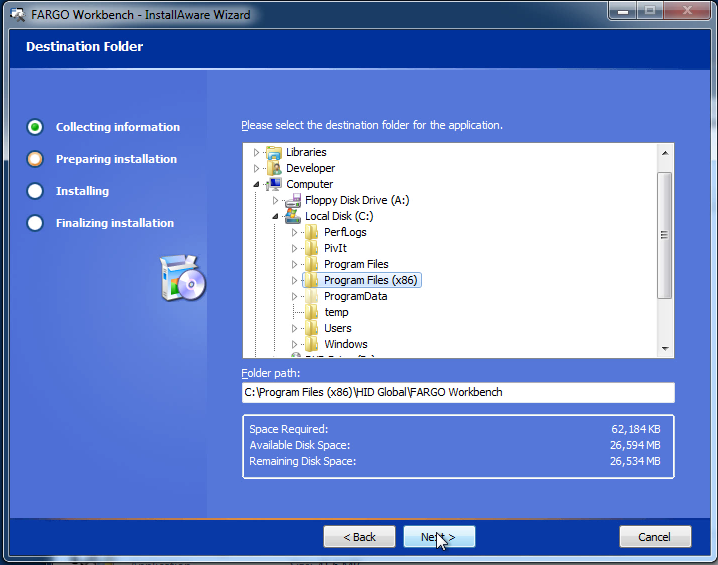
| 7 | Keep the default path and press Next. |
|
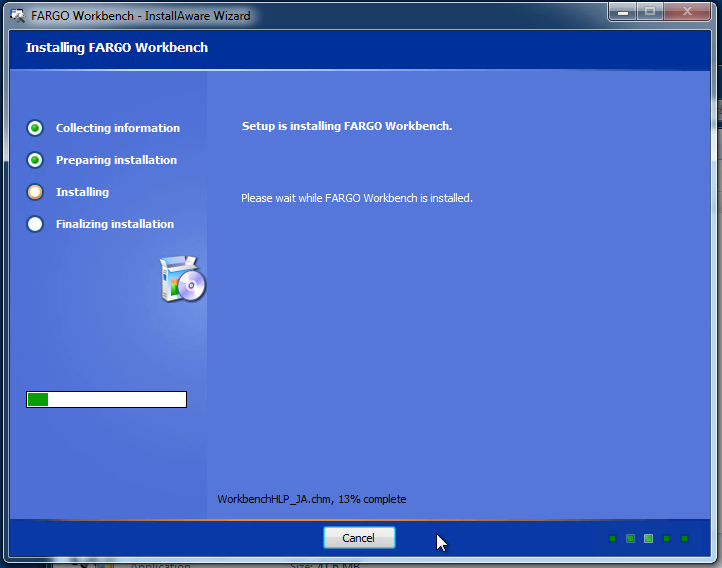
| 8 | The installation will start. |
|
| 9 | Keep the "Run Fargo workbench now" checkbox check and press Finish. | 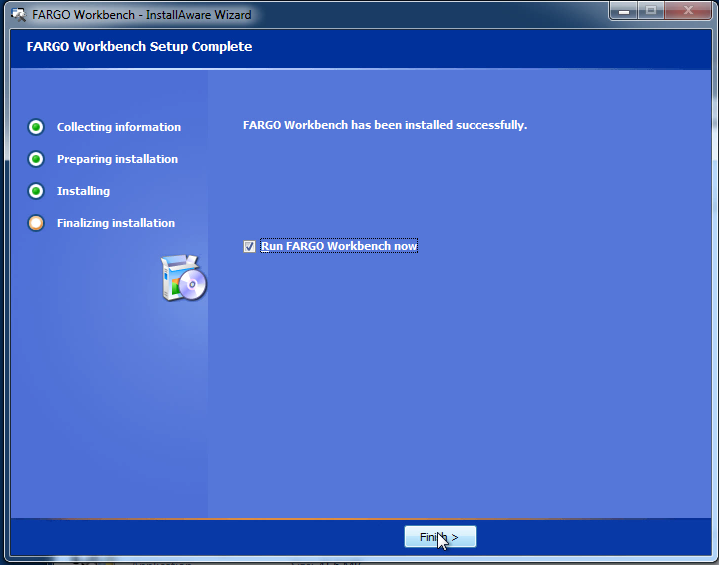 |
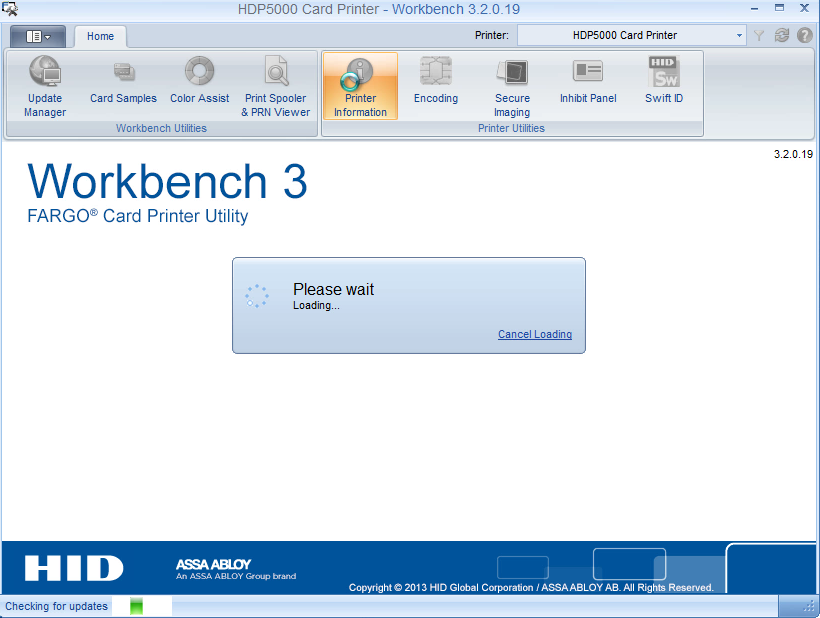
| 10 | The workbench application will start. |
|
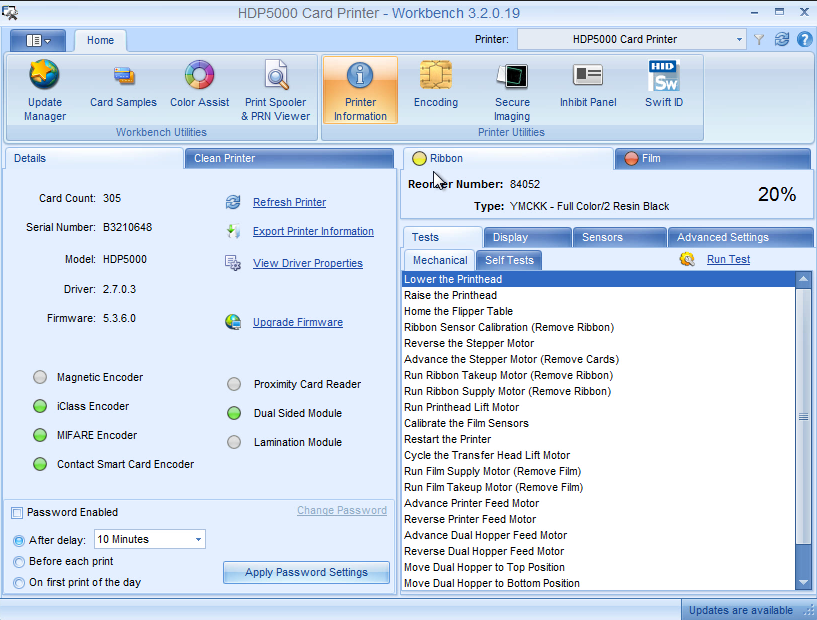
| 11 | Click on the printer button. | |
| 12 | Verify the printer information is displayed. |
|
| 13 | The workbench application install is complete. |