Installing the PivIT Browser Plugin
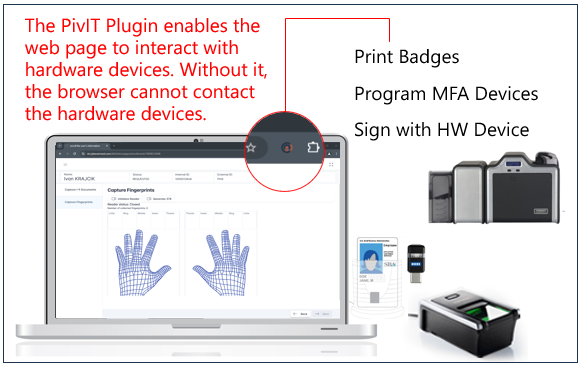
The PivIT Browser Plugin enables a web page to interact with hardware devices on the operating system. This is required for the following:
Enrolling a device such as a PIV card
Printing a badge
Signing with the Smart Card
Capturing Fingerprints or Documents
Before getting started
Plan for a workstation reboot. To ensure the various components are installed properly, a reboot will be required.
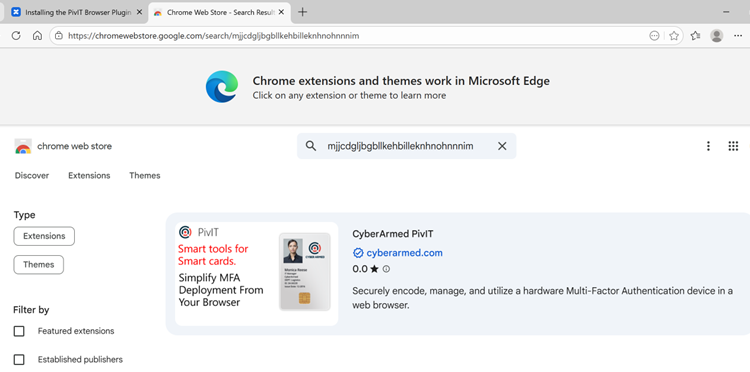
The organization must permit the PivIT browser extension to be installed. The PivIT browser extension information can be located here: CyberArmed PivIT - Chrome Web Store. The Extension ID is: mjjcdgljbgbllkehbilleknhnohnnnim
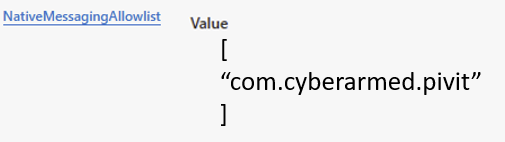
If NativeMessagingAllowlist is being used, the following value must appear in the permitted list “com.cyberarmed.pivit'
The PivIT Browser Plugin requires local administration rights to install the required components. Ensure that the user installing the plugin has the correct permissions.
*Note: Installation from an administrative command prompt is required to ensure all component are successfully installed.
Software is located in IDMS release>IDMS Client>PCA> directory.
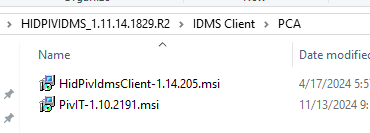
The PivIT msi within the installation folder will also include a version number. For example, PivIT-1.10.XXXX.msi. For reference purposes, the installation steps only include the term PivIT.
Installing the PivIT Browser Plugin
Extract the PivIT.msi from the installation folder or download the installer directly.
Right click on the PivIT.msi and click “Install”.

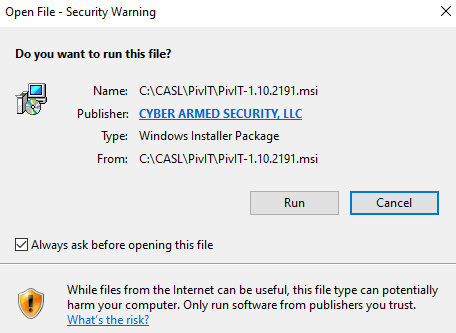
If the security warning window appears, press “Run”.
The installation welcome screen will appear. Review the license agreement and if in agreement, select “I Agree” and press “Next”.
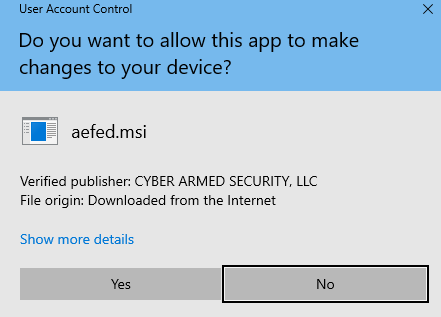
If the User Account Control window appears, press “Yes”.
Note: The software will install the plugin and the automatically close the window. You may see a confirmation window that it was successfully installed.
After the installation, reboot the operating system.
After reboot, open Microsoft Edge or Google Chrome to validate. Verifying the PivIT Browser Plugin is installed and operational
Note: Software plugin download will only install the CyberArmed PivIT browser plugin. After completing reboot, you should verify CyberArmed PivIT plug in is installed successfully. This action does not install HID ActivID CMS extension as shown in sample video within link. This step would occur prior to seeing the HID extension appear.
The CyberArmed PivIT Browser Extension has been successfully installed.
The following steps are needed only prior to Printing a Badge.
Configuring the PivIT Plugin for Badge Printing and Programming
Interactions with the printer require additional configuration to ensure the correct printer and printer are specified.
To configure the PivIT Plugin
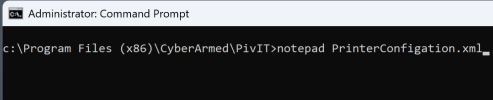
Open a command prompt as administrator and go to the c:\Program Files (x86)\CyberArmed\PivIT folder
Type notepad PrinterConfigation.xml and press enter
Update the printerName and printerReaderName with the correct configurations.
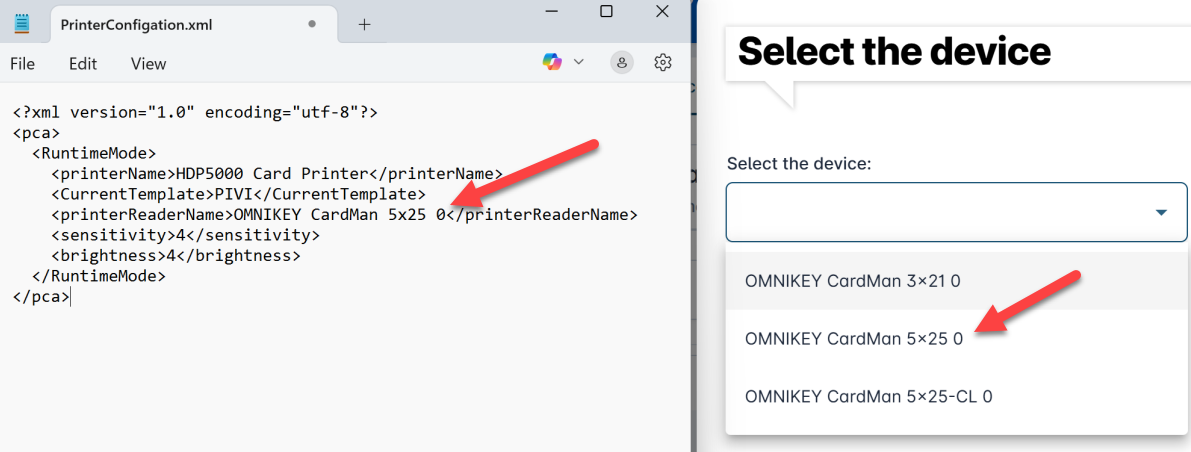
Save the file.
Close all browsers.
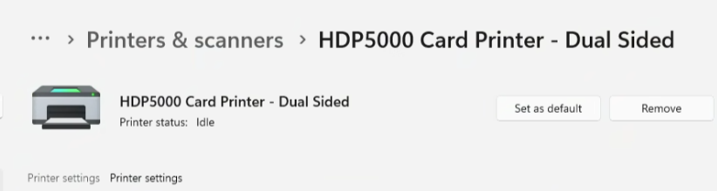
Verify the PrinterName in the PrinterConfigation.xml matches what is in the Windows Printers & Scanners. For example, IDMS will not be able to locate the following printer unless the PrinterConfigation.xml is updated.