The DataStar service monitors the SAFE external database for changes that need to be propagated to the Credential Management System. The instructions below provide the procedures for upgrading the service.
Permission requirements: Local administrator on the server
Upgrade Procedures
|
Step Number |
Procedure |
Example |
|---|---|---|
|
1 |
Open a command prompt as admin. |
|
|
2 |
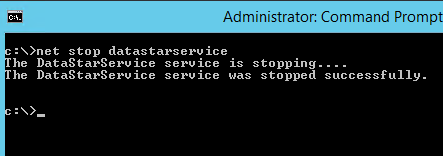
While in the command prompt, type “net stop datastarservice” |
|
|
3 |
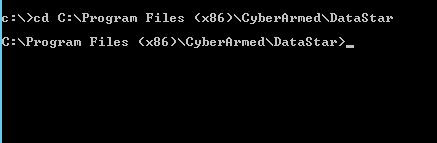
Move to the C:\Program Files (x86)\CyberArmed\DataStar directory. |
|
|
4 |
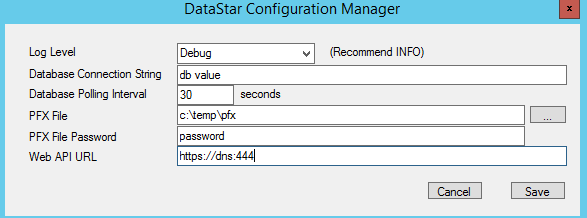
While in the C:\Program Files (x86)\CyberArmed\DataStar directory, type DataStarConfigurationManager.exe and press enter. This will launch the configuration tool. |

|
|
5 |
Copy all of the configurations to a notepad document. These configurations will be re-entered after the services have been updated. |
|
|
6 |
After the configurations have been saved, close the window. |
|
|
7 |
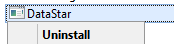
Go to uninstall programs, right click on DataStar and press UnInstall. |
|
|
8 |
After the installation is complete, open windows explorer and go to the C:\Program Files (x86)\CyberArmed\DataStar directory. |
|
|
9 |
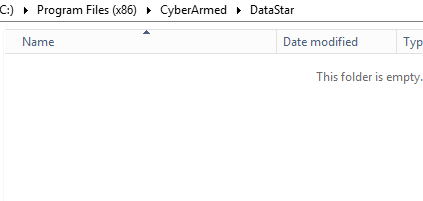
While in the C:\Program Files (x86)\CyberArmed\DataStar directory, delete any remaining files in this directory. |
|
|
10 |
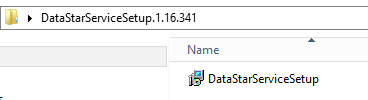
Run the DataStar Service installer (from the DataStarServiceSetup.1.16.341.zip) file. |
|
|
11 |
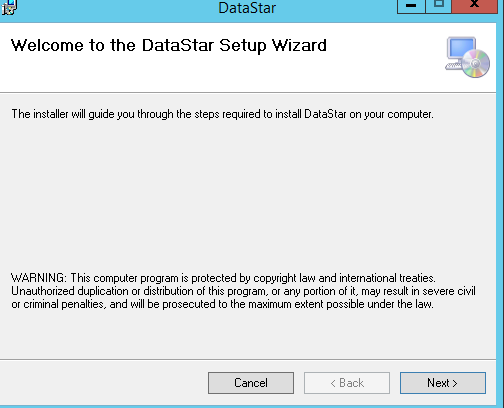
Press Next. |
|
|
12 |
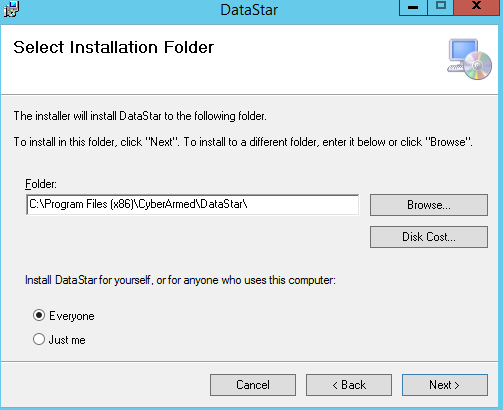
Press Next. |
|
|
13 |
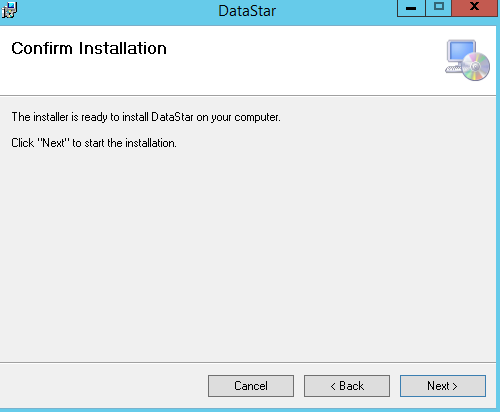
Press Next. |
|
|
14 |
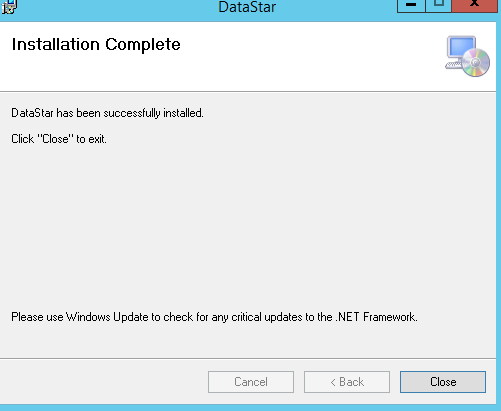
Press Close to complete the installation. |
|
|
15 |
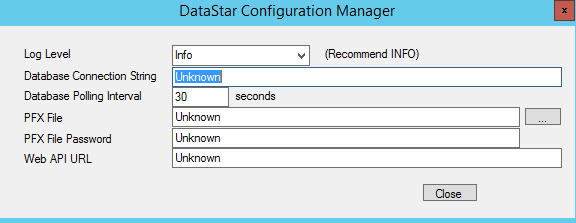
Go to the command prompt and run the DataStarConfigurationManager.exe again. Reenter the information saved. Press save and close the window. |
|
|
16 |
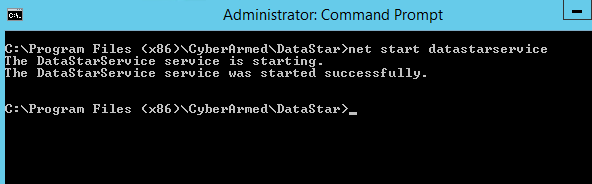
After closing the configuration window, go to the command prompt and type "net start datastarservice" |
|
|
17 |
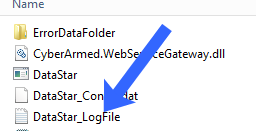
Next, go to the C:\Program Files (x86)\CyberArmed\DataStar directory and view the DataStar_LogFile file. |
|
|
18 |
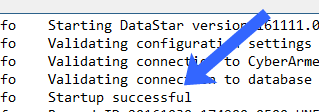
Verify that startup is successful. |
|
|
19 |
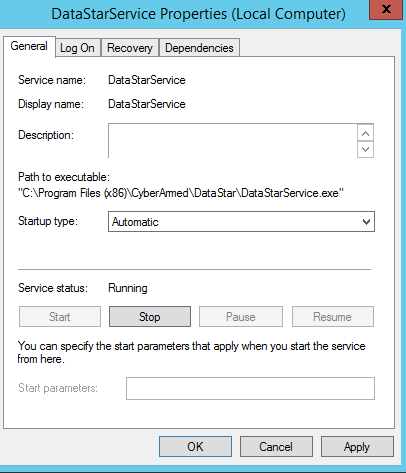
Next, set the service to start up automatically (if desired). |
|
|
20 |
Update is complete. |