
Installation Requirements
-
Read permissions to the external database CyberArmedPersonView
-
Client certificate to the IDMS Web API
-
Role assignment of enrollmentOfficer within the IDMS WebApi
-
Update permissions to the IDMS database
Before Installation Check List
|
Step Number |
Procedure |
|
|---|---|---|
|
1 |
Log in to the database server where the CYBERARMEDPERSONVIEW resides. Verify the table is installed and matches the design schema. |
|
|
2 |
Verify the certificate that has been enrolled into IDMS can be accessed via the pfx password. |
Service Installation Steps
Data Star monitor
|
Step Number |
Procedure |
Example |
|---|---|---|
|
1 |
In the install folder, locate the DataStarServiceSetup. |

|
|
2 |
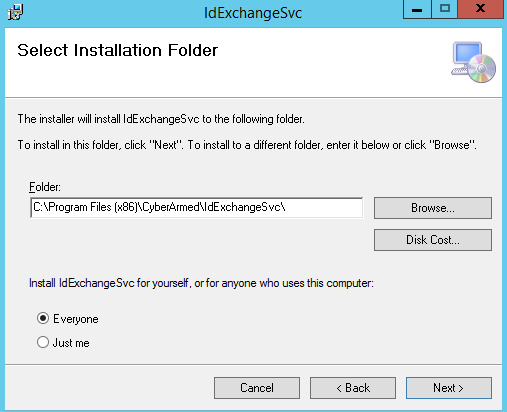
Run the DataStarServiceSetup installer. |
|
|
3 |
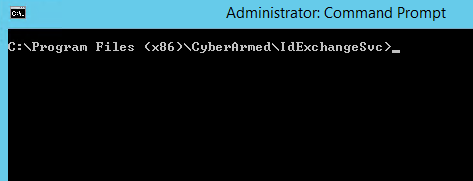
Open a command prompt as administrator and go to the folder: [C:\Program Files (x86)\CyberArmed\IDMSSvc]. |
|
|
4 |
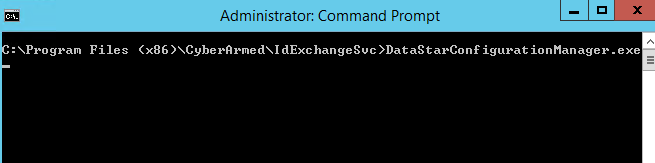
Run the DataStarConfigurationManager command. |
|
|
5 |
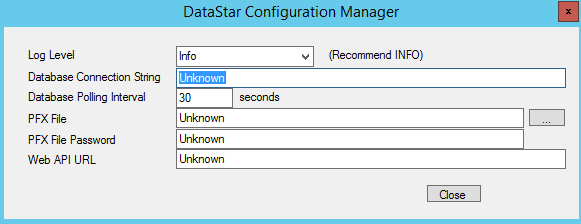
Enter the configurations for the View table and the WebApi. |
|
|
6 |
After completing the information, press Save. |
|
|
7 |
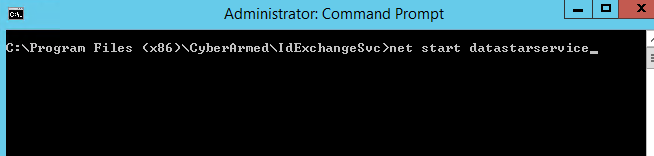
Start the DataStarService by typing net start datastarservice. |
|
The steps below will perform an initial installation of the service
|
Step Number |
Procedure |
Example |
|---|---|---|
|
1 |
Run the IDMSSvcInstaller installer. |
|
|
2 |
Open a command prompt as administrator. |
|
|
3 |
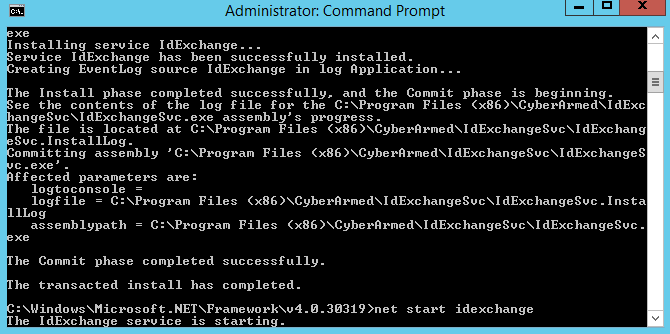
Verify the installation was successful by analyzing the command window. If successful, the command window will state "The commit phase completed successfully" |
|
Configuration Procedures
IDMS SVC
The steps below provide the instructions for configuration for the service
|
Step Number |
Procedure |
Example |
|---|---|---|
|
1 |
In the command prompt, Go to the C:\Program Files (x86)\CyberArmed\IDMSSvc folder |
|
|
2 |
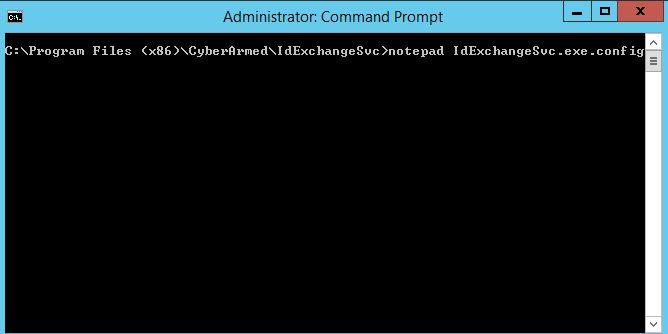
Open the IDMSSvc.exe.config with notepad. |
|
|
3 |
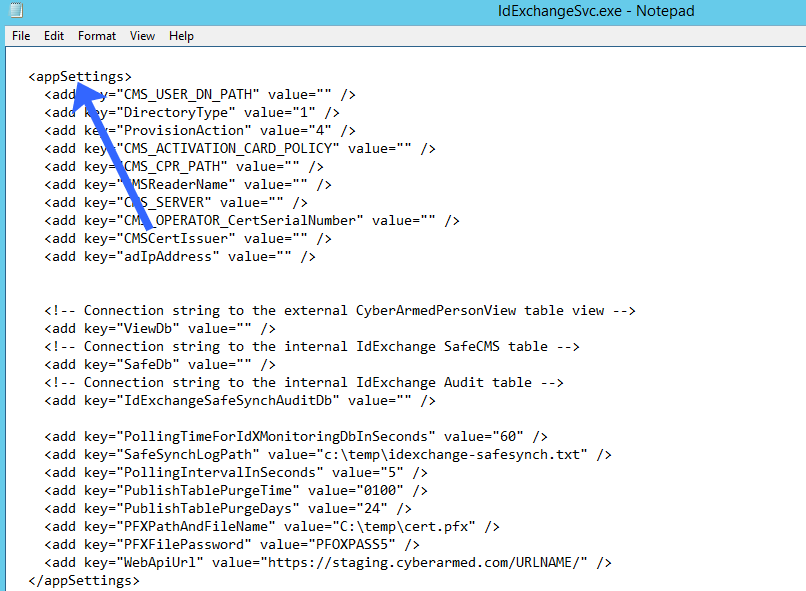
With the IDMSSvc.exe.config opened, scroll to the bottom to the "AppSettings" section of the file. |
|
|
4 |
Go to the "ViewDb" Section and add the connection string to the CYBERARMEDPERSONVIEW table. |

|
|
5 |
Go to the "SafeDb" Section and add the connection string to the IDMS database. |

|
|
6 |
Go to the IDMSSafeSynchAuditDb and add the connection string to the IDMS database. |

|
|
7 |
Go to the PFXPathAndFileName and add the value to the PFX (the client certificate). Go to the PFXFilePassword and add the value of the PFX Password. |

|
|
8 |
Go to the WebAPIURL and add the value of the IDMS WebApit URL. |

|
|
9 |
Save the file and close. |
|
|
10 |
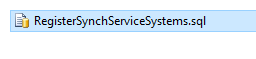
Go to the IDMS installation package and locate the RegisterSynchServiceSystems.sql file. If this not has already been executed, run this SQL file to add the system information to the IDMS.ChannelConfiguration table. |
|
|
11 |
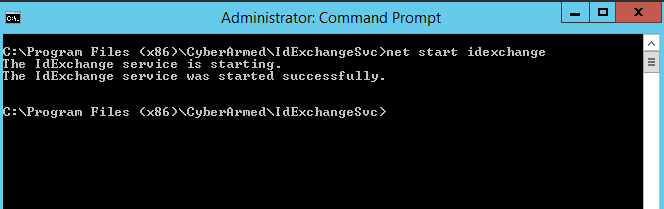
In the command prompt, enter net start IDMS. |
|
|
12 |
View the logs to verify the service started properly. |
|
|
13 |
Encrypt the configuration file C:\> cd C:\IDMS\ cd C:\IDMS> ren IDMSSvc.exe.config web.config aspnet_regiis.exe -pef "appSettings" "C:\CASL\Products\WcfService\Service\bin\Debug" cd C:\IDMS> ren web.config IDMSSvc.exe.config |
|
Verify the client.pfx file has been copied to the operating |
||
|
1 |
SafeDb |
The connection string required to connect to the external database |
|
2 |
PollingIntervalInSeconds |
The polling interval (in seconds) the SSM will query the external data source |
|
3 |
PublishTablePurgeTime |
The time in which the publishing table will be purged. 0100 is the default |
|
4 |
PFXPathAndFileName |
The pfx file required to log in to the IDMS Web API |
|
5 |
PFXFilePassword |
The pfx password |
|
6 |
WebApiUrl |
The IDMS Web API URL |
Resetting failed user records
In the SAFE_P table, reset the record DBP_STATUS to "N". This will cause the service to reprocess the user.