
Adding lines to the badge layout is achieved by using an external image.
Prerequisites
-
Log in to the system with administrative rights.
-
Create graphic with horizontal line and save as a .png file
To Add a Line Image to the Badge Layout
|
Item |
Procedure |
Example |
|---|---|---|
|
1 |
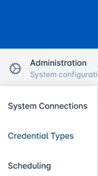
Click Administration and select Credential Types. |
|
|
2 |
Select a Credential Policy and press the corresponding gear button. Press Configure Policy. |

|
|
3 |
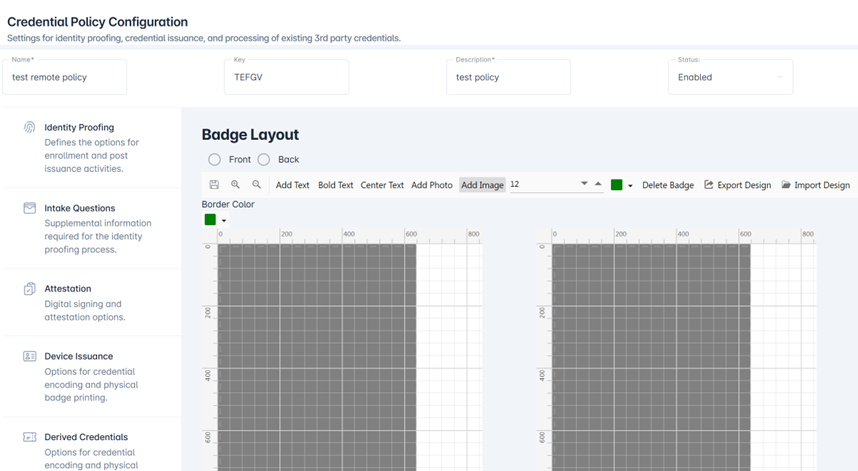
Scroll down and click the Badge Layout tab. The badge layout designer will be displayed. |
|
|
4 |
To enter a line, use a predefined graphic. |
|
|
5 |
Press the Add Image button. |
|
|
6 |
Locate the image with the line. Select the image and press Okay. |
|
|
8 |
The horizontal line graphic will be visible on the designer. |
|
|
9 |
Drag the graphic to where you would like it to be on the badge. |
|
|
10 |
Pull it to extend if required. |
|
|
11 |
Press the Save Changes button to finish. |

|
Reference: Creating the Badge Layout
Note: Images should be saved in a .png file format.