Creating the Badge Layout
Badges can be customized to meet the needs of an organization or agency. IDMS can support printing badges with a logo, user photo, and identification information leveraging dynamic data fields. This document walks through the different capabilities and steps to configure the badge layout.
Prerequisites
The following role permissions are required: Requester, System Manager Role Definitions
Review list of Dynamic Data values to potentially include on the badge Obtaining Dynamic Data Values for the Badge Layout
Understanding the Badge Layout Designer
The Badge Layout Designer provides a canvas to place the objects that should be printed. It supports adding the following:
Static Text
Dynamic text that is obtained from the user’s identity enrollment. For example, the user’s last name.
Dynamic photo that is obtained from the user’s identity enrollment
Logos and images Photo Upload Guidelines
Barcode
Front and back design
Tip: To ensure your changes are saved, press the save button after making small changes.
All images must be in the .PNG format.
To Create a New Badge Layout
Item | Procedure | Example |
|---|---|---|
1 | Go to Administration and select Credential Types. |  |
2 | Locate the credential policy to be updated and click the gear icon in the left column. Select Configure Policy. |  |
3 | Scroll down and click the Badge Layout tab. The badge layout designer will be displayed. | 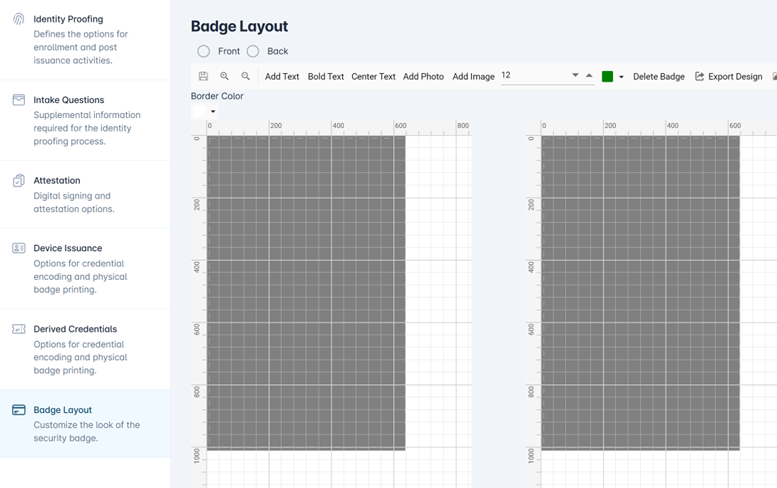 |
4 | Select either the Front or Back radio button to begin customization. | 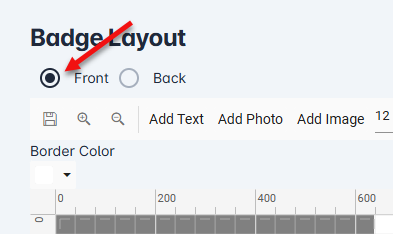 |
5 | Adding a Static Image (for example, a logo) To add an image, Click the Add Image button. Browse to the directory and select the .png image. The image will be placed on the canvas. Once on the canvas, it can be dragged to the desired location. Press the Save button to save the changes. Note, all images must be in .png format | 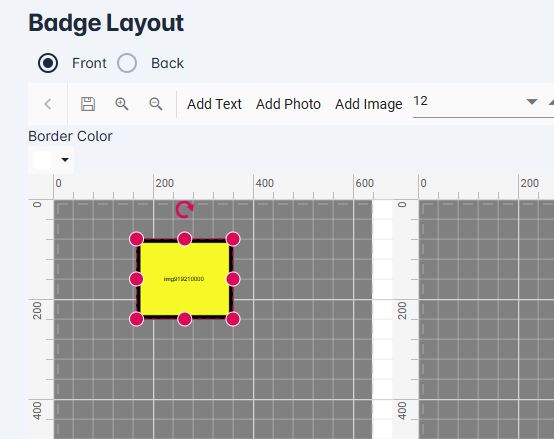 Adding an Image 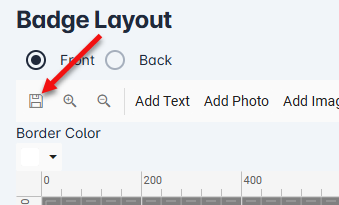 Saving Changes |
6 | Adding Dynamic Data To add Dynamic Data, where the data is obtained from the user’s identity enrollment record, click the Add Text button. This will place a text object on the canvas. | 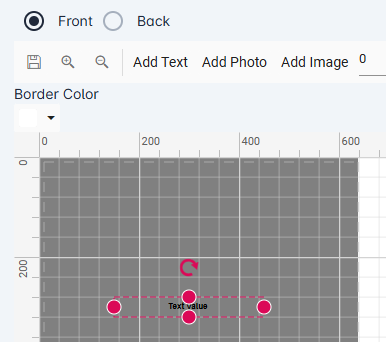 |
7 | Adding Dynamic Data (continued) Double click the Text object and type of one of the dynamic values depending on the data to be added. In the example, the FULLNAME will be set. Drag the text object to the desired location and press Save. Note: Dynamic Data values are uppercase values | 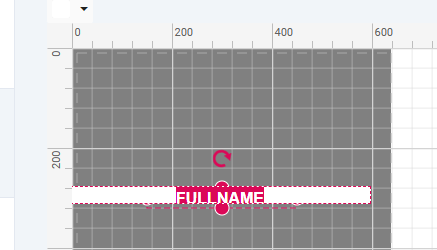 |
8 | Adding Static Text (for example, company name) To add static text, click the Add Text button. This will place a text object on the canvas. Type in the text that should be printed. To bold the text, click the text field that should be bolded and press the Bold Text button. Drag the text object to the desired location and press Save. | 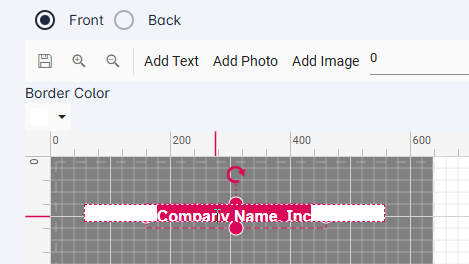 Adding Static Text 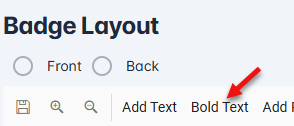 Bold Font |
9 | Adding User Photo To add the user’s photo, press the Add Photo button. This will add the user’s photo to the badge. It will appear as a white box on the badge editor. The object can be dragged to the desired location and press Save. Important: do not add any other text to this field. | 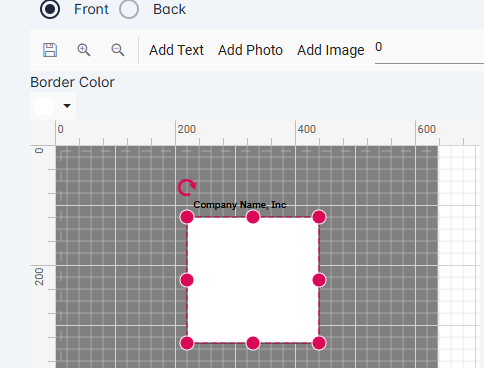 User Photo to be Printed |
10 | Adding a Bar Code Two bar code formats are supported: 1) PDF417, 2) CODE39. To add a bar code:
Example 1 To create a barcode in the PDF417 format with data from the Employee Id field, use the following format: BARCODEONE|PDF417|EMPLOYEEID Example 2 To print the IDMS generated User ID field, use the following format: BarcodeID|PDF417|USERID The object can be dragged to the desired location and press Save. | 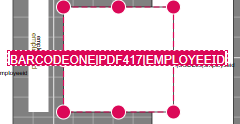 Barcode Format Employee ID 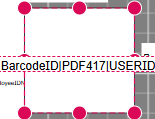 Barcode Format User ID |
11 | When the badge configuration is complete, press Update. | 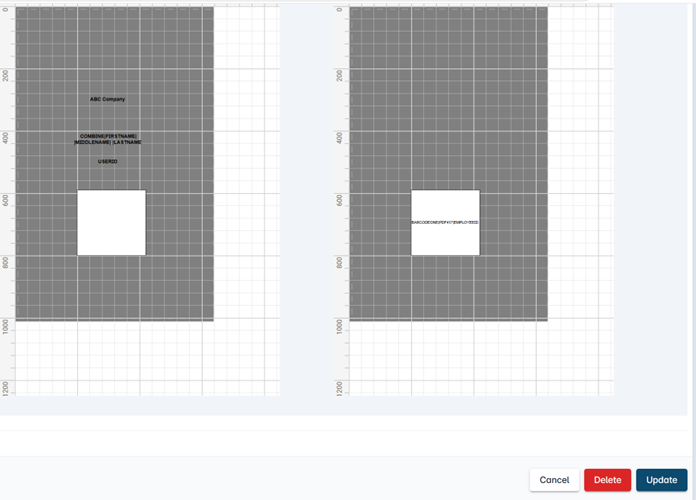 |
Reminder to save changes as you make updates to ensure accurate capture.