
Prerequisites
Before beginning this procedure, ensure you have:
-
Active account with the Credential Issuer and Credential Manager permissions.
-
Employee ID or external ID for the user who will receive the badge
-
Software configuration:
-
The PivIT browser extension must be installed
-
The workstation must be configured to use the correct printer and printer reader
-
The PivIT Browser is configured for the printer and printer reader
-
Procedures
|
Procedure |
Example |
|
|---|---|---|
|
1 |
Log into the IDMS Open your web browser and navigate to https://IDMS_DNS:444/idms/apps/userManagement Log in using your IDMS credentials when prompted. |
|
|
2 |
Locate the User in IDMS In the User Management Portal page, locate the search field labeled ‘Enter user's Employee ID to locate the user.’ Enter the Employee ID or External ID of the person who will receive the badge. Click the Search button. |
|
|
3 |
Review User Information Review the search results table to confirm you have located the correct user. Verify the First Name, Last Name, Policy, and Status columns match the intended recipient. In the Action column for the correct user, click the Manage button. Expected Result: The system displays the user's detailed information page showing their status, internal ID, and available tabs including Photo, Documents, and ID. |
|
|
4 |
Insert the card into the reader |
|
|
5 |
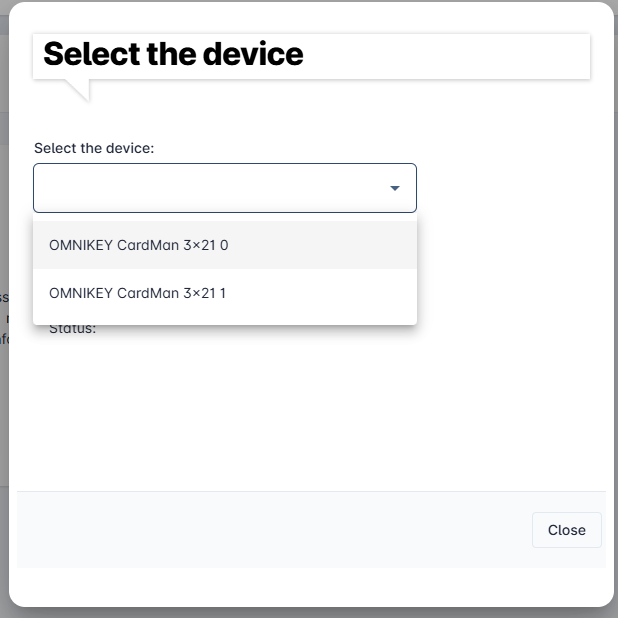
Initiate Device Programming On the user's information page, select Credentials, then click the Device button, then Manage Device. Select your the card reader that the |
|
|
6 |
Assign the Device Review the device information displayed:
Click the Assign Device (CMS) button at the bottom right of the dialog box. Expected Result: A new dialog box titled ‘Set PIN’ appears with fields for entering and confirming a PIN. |
|
|
7 |
Set the Badge PIN IMPORTANT SECURITY NOTE: The PIN should only be known by the badge recipient. Do not share this PIN with anyone other than the authorized user.
Expected Result: The programming process begins, and a progress dialog appears showing ‘Please wait, programming device’ with a status message ‘Starting to synchronize.’ |
|
|
8 |
Wait for Programming to Complete
Expected Result: The dialog changes to show ‘Device is active’ and displays the selected device information. Instructions appear to 'Press the Print button to print the badge.' |
|