
The SCEP relay service interfaces directly with the InTune MDM.
Warning: The SCEP relay is a public service. Proper security controls should be placed to ensure that only the Microsoft Intune and the customer premise networks can access the Scep Relay Service.
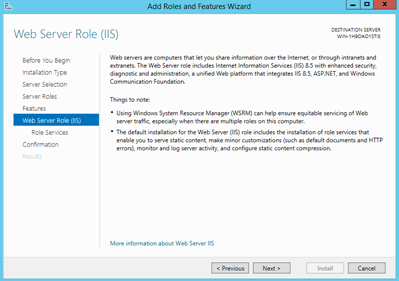
Install IIS/ASP.Net
The Web.config will need the following requestLImits to enable the larger scep requests to come through
<requestFiltering>
<!-- 1 GB -->
<requestLimits maxAllowedContentLength="1073741824" maxUrl="10999" maxQueryString="2097151" />
</requestFiltering>
and
<httpRuntime targetFramework="4.6.2" maxUrlLength="10999" maxQueryStringLength="2097151" />
|
Step Number |
Procedure |
Example |
|---|---|---|
|
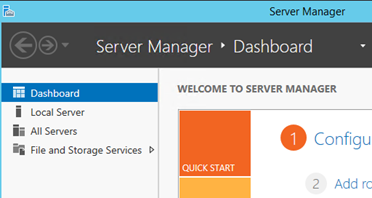
1 |
Open Server Manager. |
|
|
2 |
Click add roles and features. |
|
|
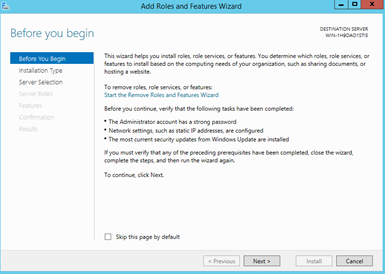
3 |
Click Next. |
|
|
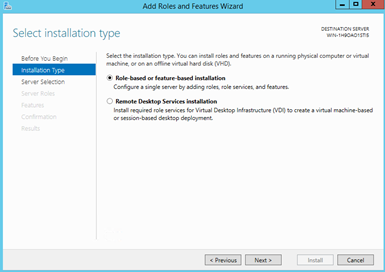
4 |
Select Role-based or feature-based installation and click Next. |
|
|
5 |
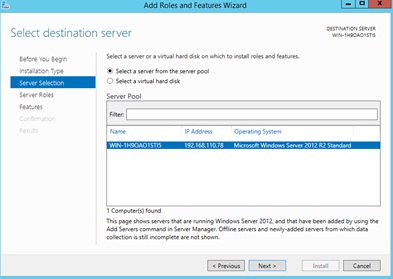
Select the server ( maintain defaults ) . Click Next. |
|
|
6 |
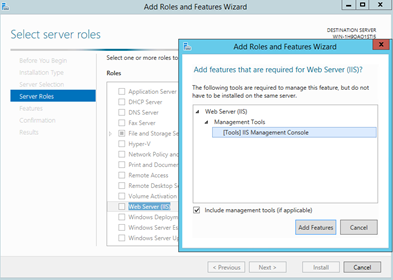
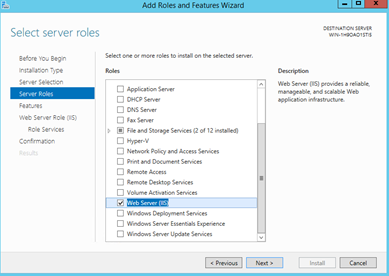
Scroll down and select Web Server. Next click Add Features. |
|
|
7 |
Click Next. |
|
|
8 |
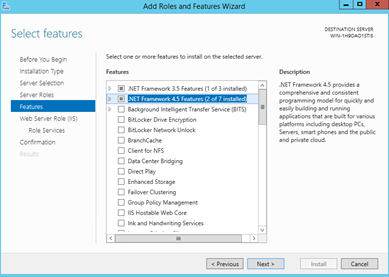
Verify .net 3.5 and .net 4.5 features are installed and click Next. |
|
|
9 |
Click Next. |
|
|
10 |
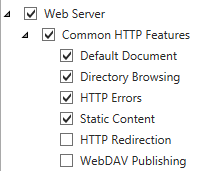
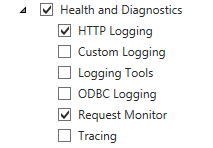
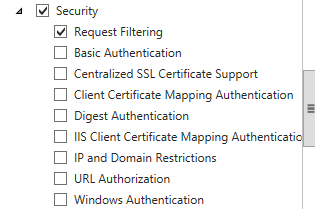
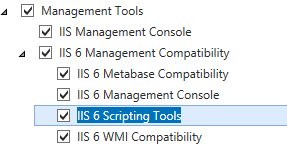
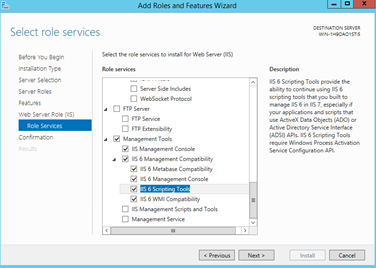
Next, select the role services. Verify each of the selections have been made. |
|
|
11 |
After verifying selections have been made, press Next. |
|
|
12 |
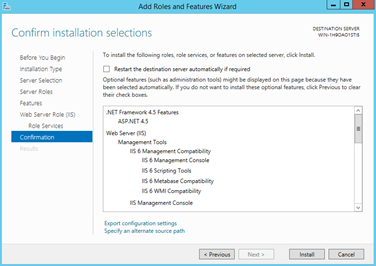
Press Install. |
|
|
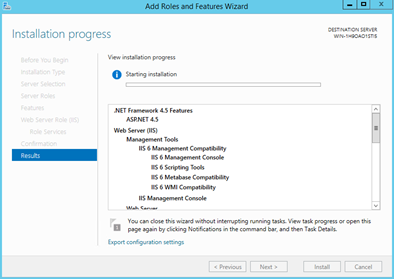
13 |
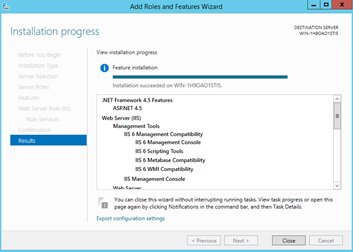
Installation will proceed. |
|
|
14 |
Press Close to complete the process. |
|
|
15 |
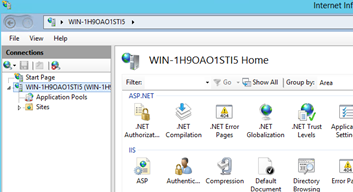
Next, open the IIS manager, and verify the installation occurred. |
|
|
16 |
IIS Install is complete. |
|

Run the ScepRelay Installer
Create the Scep Relay WebSite
|
Step Number |
Step |
Description |
|---|---|---|
|
1 |
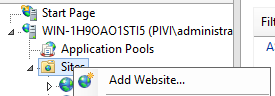
In IIS, right click on sites and add Web Site |
|
|
2 |
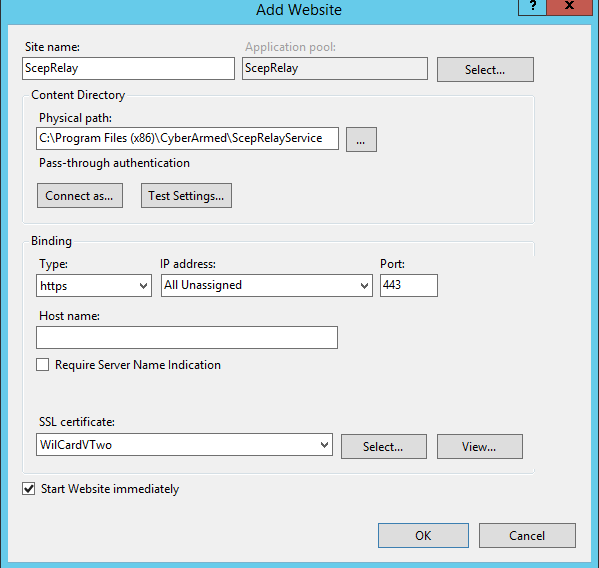
Site Name: ScepRelayService Physical Path: C:\Program Files (x86)\CyberArmed\ScepRelayService Binding: HTTPS |
|
|
3 |
Press OK |
|
Validate the Scep Relay Install
Click on the SCEP Relay Site, press Browse for http
Open a web browser, go to: https://localhost:999/api/getversion
To see the number of connections: https://localhost:999/api/getConnectedClients