
To perform identity proofing of the individual requesting a credential, the user's identity attributes and identity documents must be captured.
Important: To perform this process, the user must be a registered and an Enrollment Officer.
|
Procedure |
Example |
|
|---|---|---|
|
1 |
User approaches kiosk, they scan a QR Code |
|
|
2 |
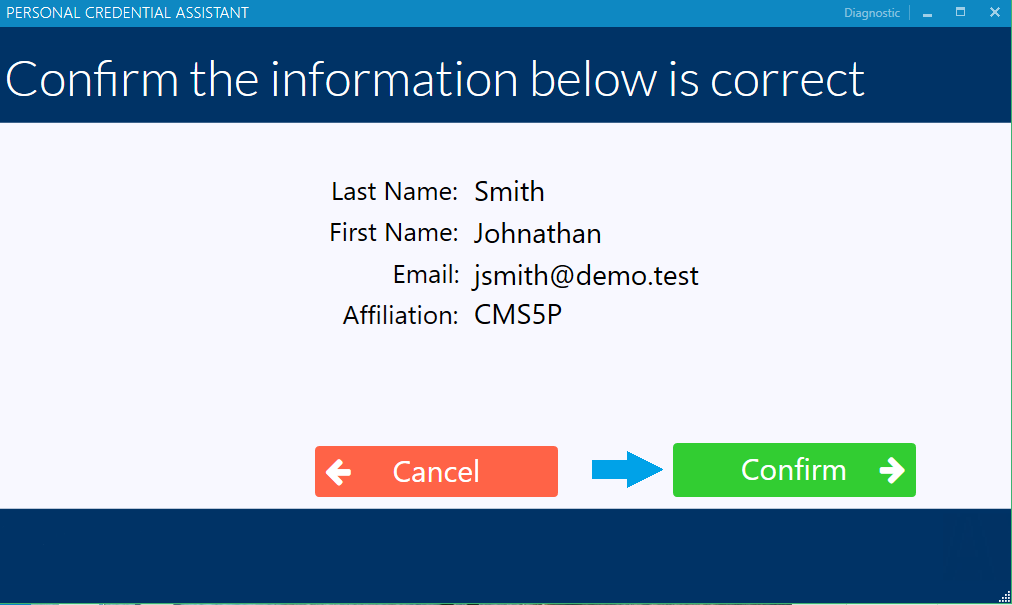
The system looks them up, presents their base biographic data to start. |
|
|
3 |
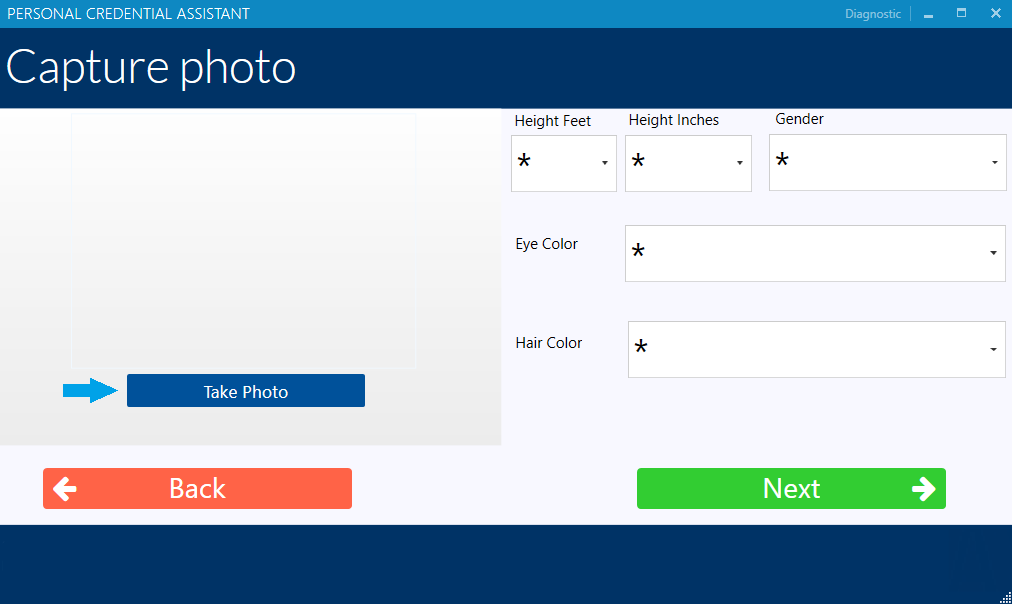
Next, capture the person's photo by pressing the take photo button. The live image preview window will open. |
|
|
4 |
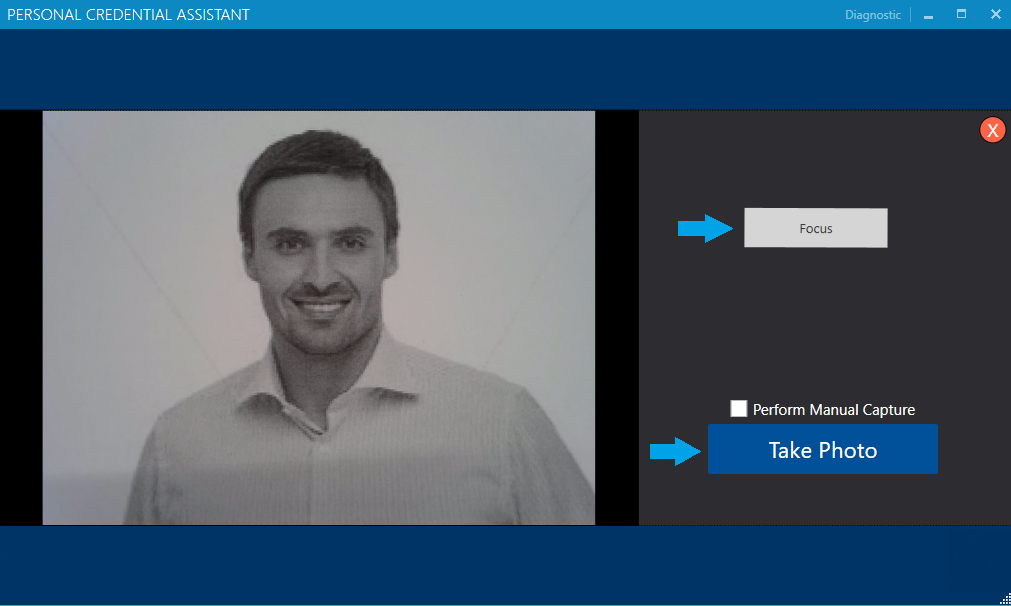
WIth the image preview window open, press the focus button if the image is not clear. Next, press the take photo button to capture the photo. |
|
|
5 |
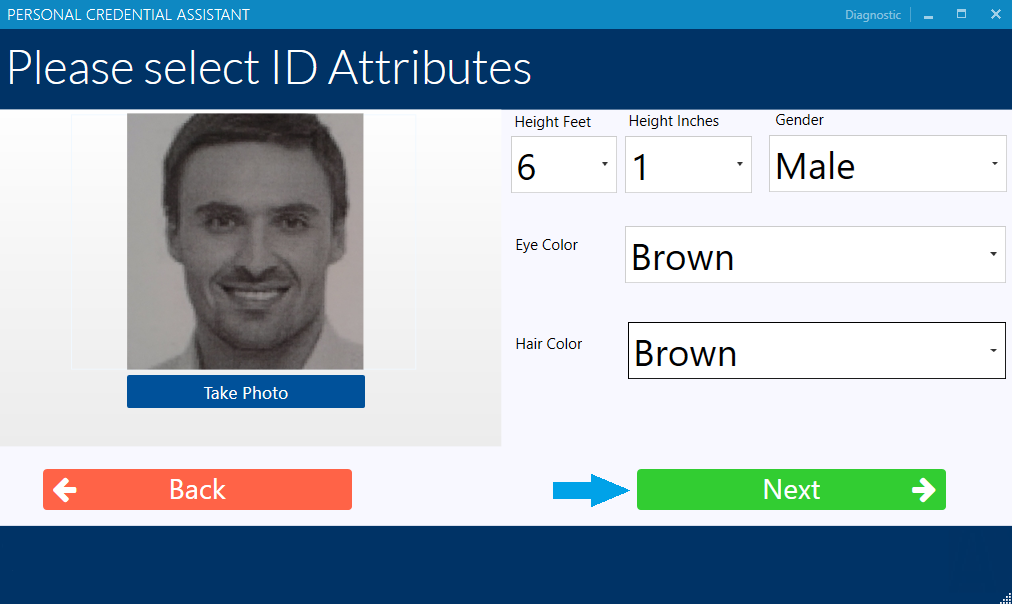
The photo will be automatically cropped and centered. Next, select the following: Select the Height Feet Select the Height Inches Select the Gender Select the Eye Color Select the Hair Color And press Next. |
|
|
6 |
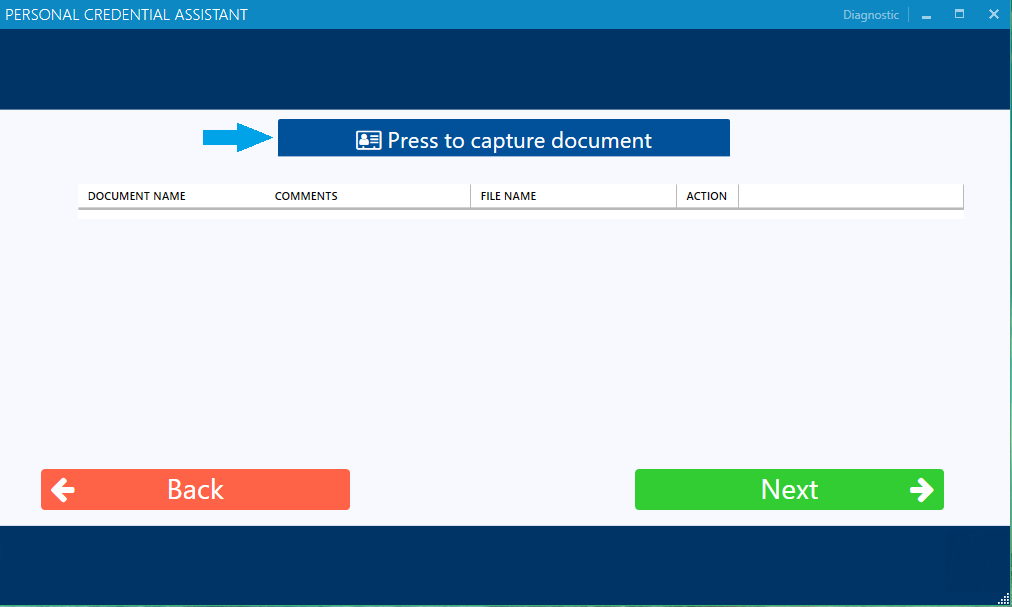
Next, capture the identity documents by pressing "Press to capture document". |
|
|
7 |
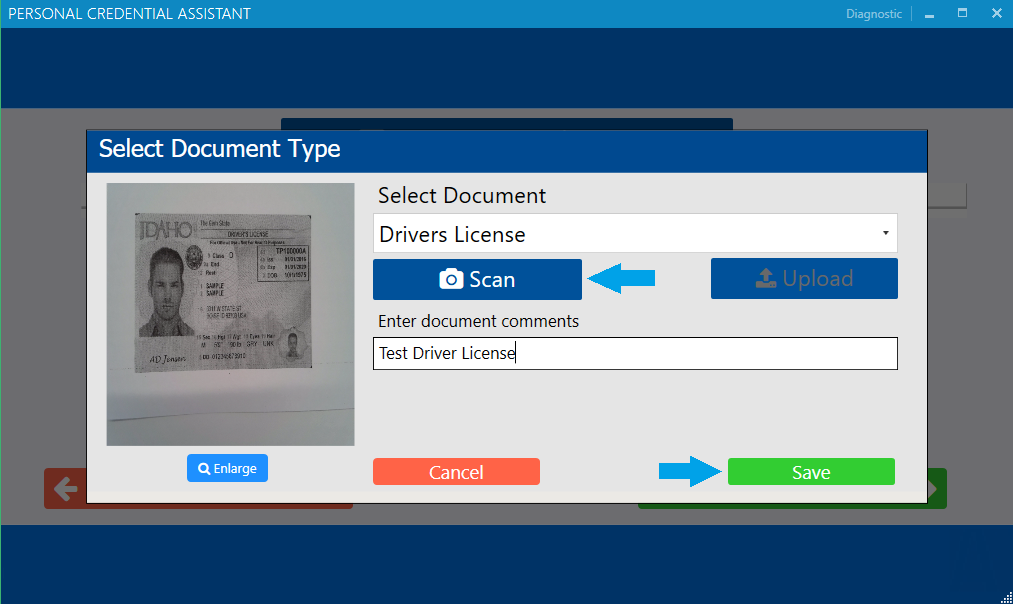
Select the document from the drop-down, next press Scan and enter document comments if necessary. |
|
|
8 |
To upload an existing document, press the select button and locate the file. After selecting the file, press the Save button. |
|
|
9 |
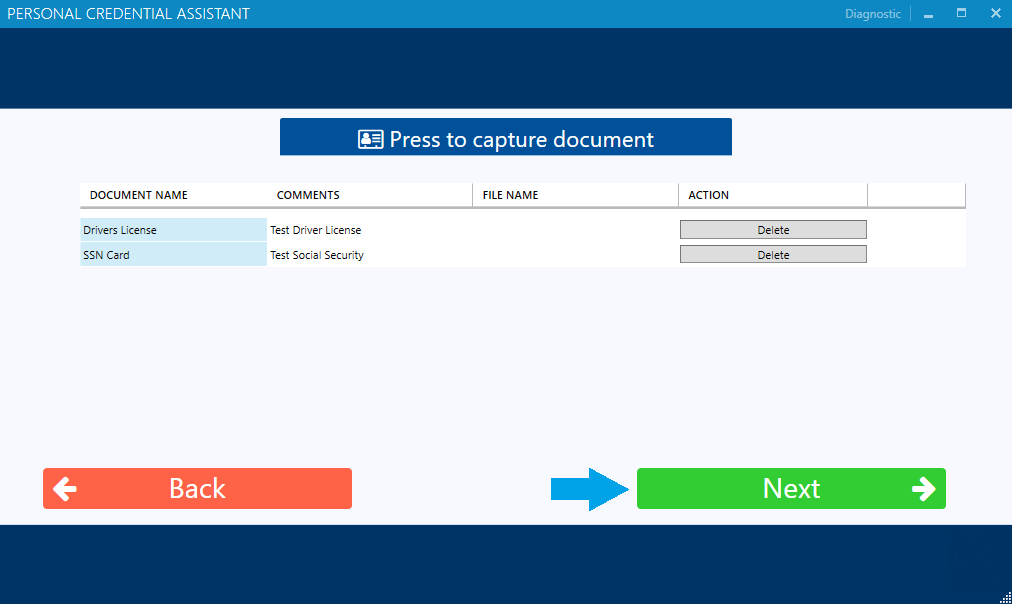
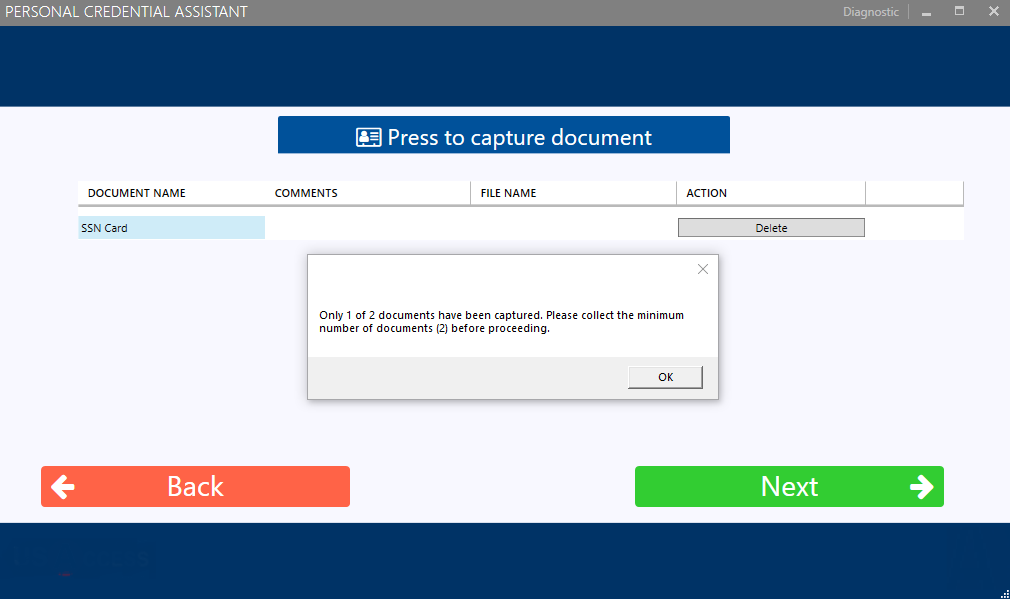
Once the documents have been scanned and selected, press the Next button too.
Important: The ID Policy defines the minimum amount of identity documents that must be captured. If the minimum documents have not been captured, the following warning will appear. |
|
|
10 |
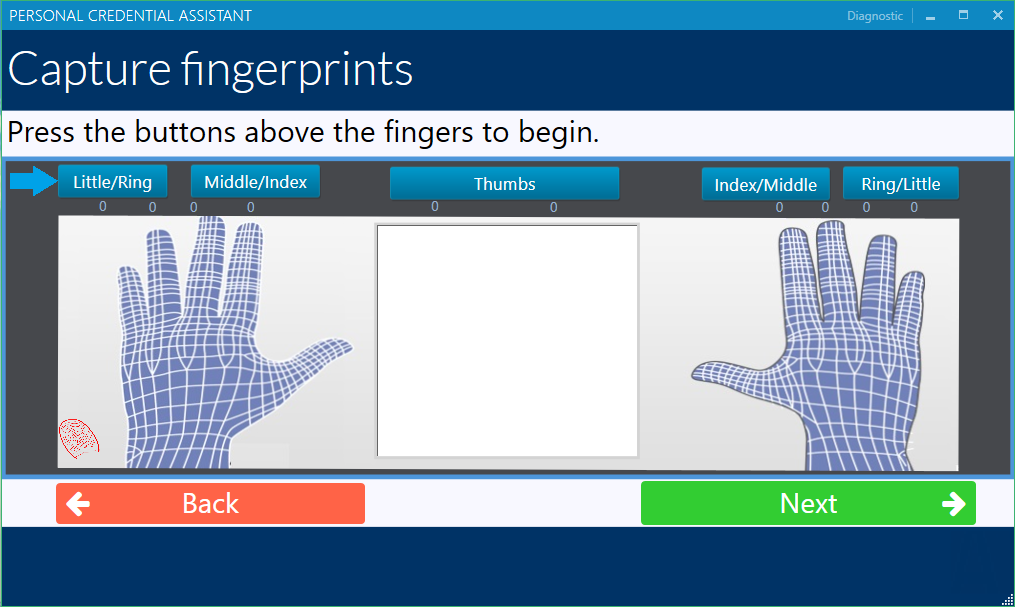
Next, start the fingerprint capture by pressing the “Little/Ring” button. This will capture the user’s left little and ring fingers. |
|
|
11 |
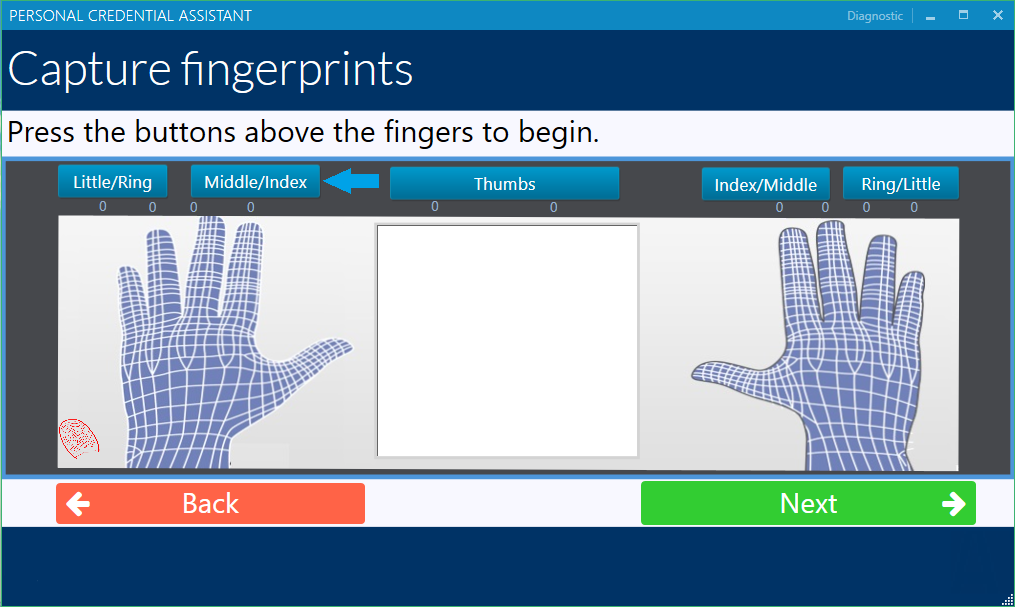
Next, start the fingerprint capture by pressing the “Middle/Index” button. This will capture the user’s left middle and index fingers. |
|
|
12 |
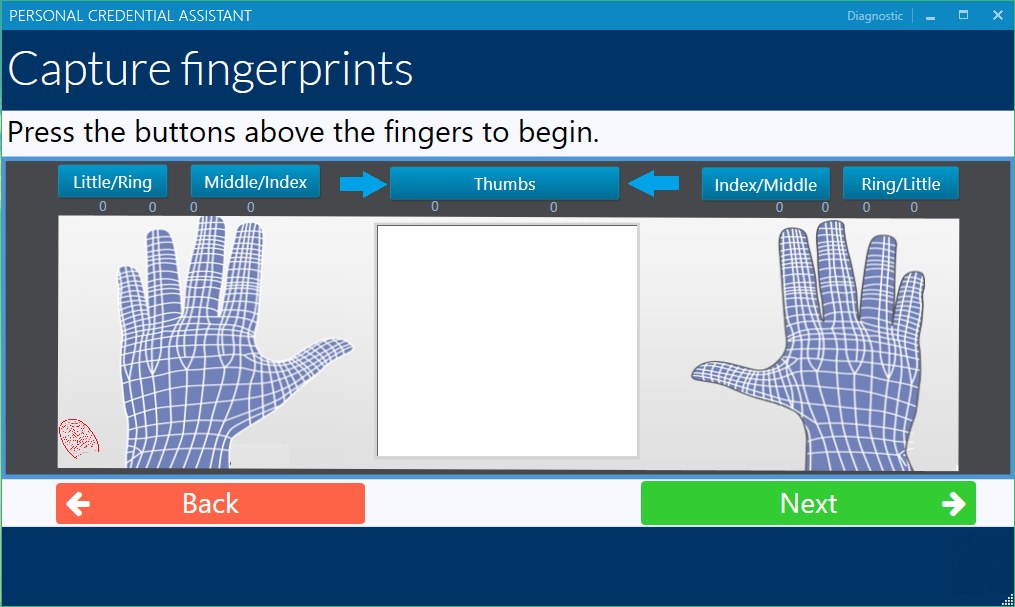
Next, start the fingerprint capture by pressing the “Thumbs” button. This will capture the user’s two thumbs. |
|
|
13 |
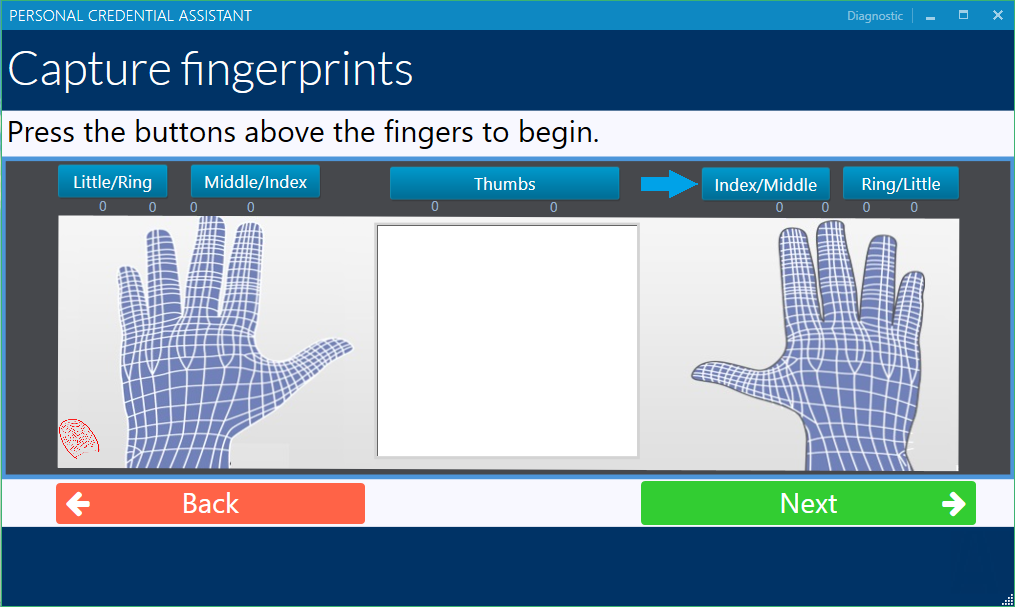
Next, start the fingerprint capture by pressing the right “Index/Middle” button. This will capture the user’s right index and middle fingers. |
|
|
14 |
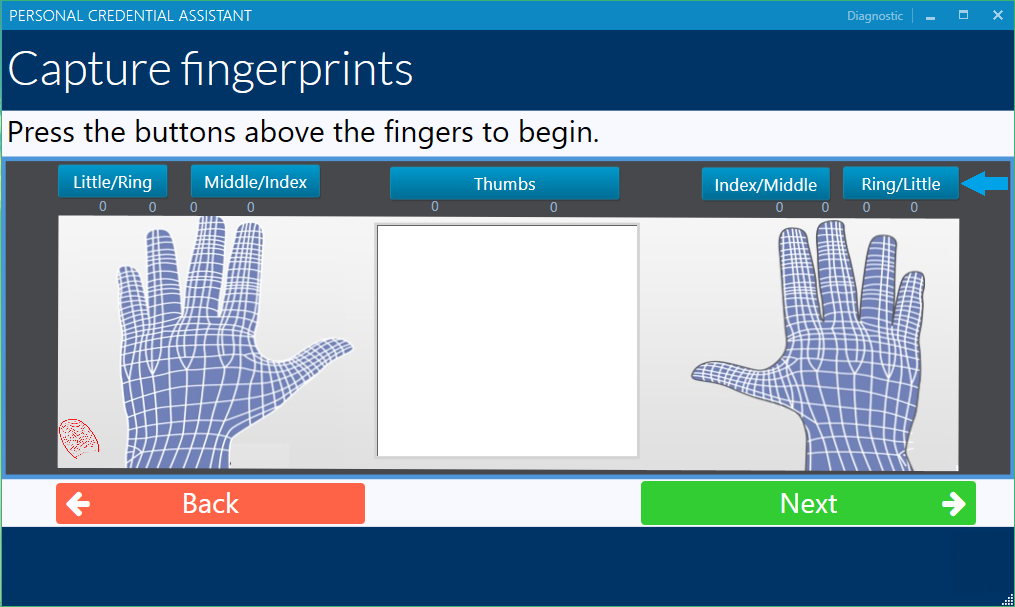
Next, start the fingerprint capture by pressing the right “Ring/Little” button. This will capture the user’s right ring and little fingers. |
|
|
15 |
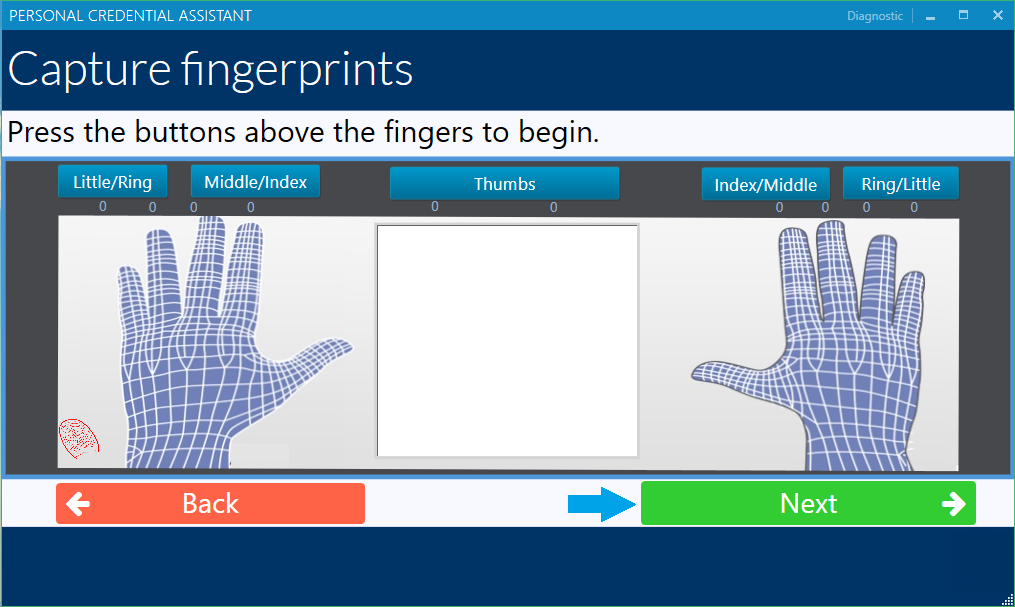
When complete, press the Next button. |
|
|
16 |
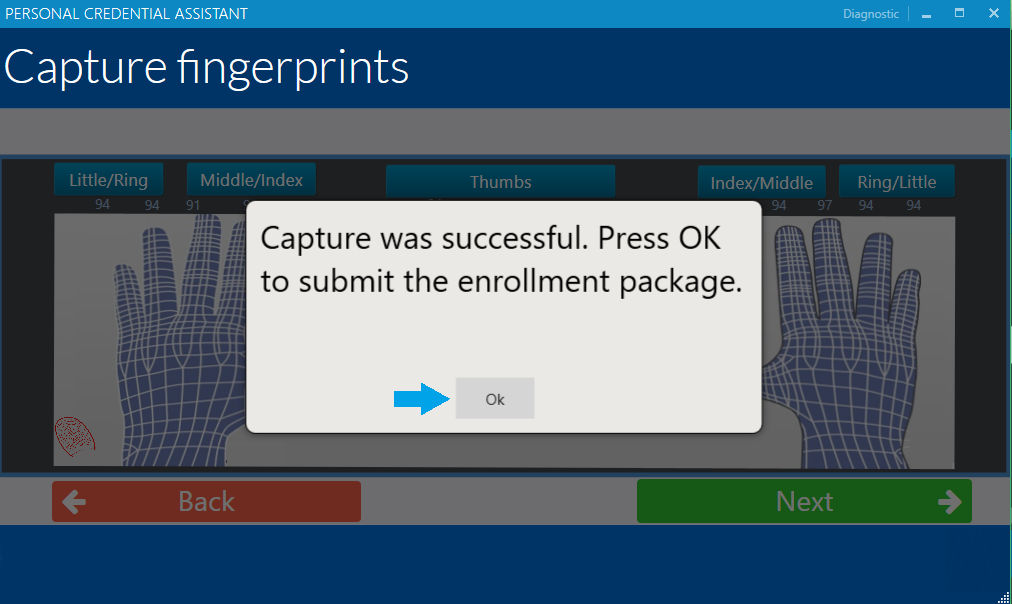
The system will the analyze the fingerprints. Next, will inform the user that a quality check needs to be performed on the fingerprint. Prepare the user to capture their fingerprint on the small biometric unit and then press OK. |
|
|
17 |
The Biometric and Document Capture process is complete. |
|