The first step is to create a request for a user to receive a credential. This process will retrieve the user from the identity repository to prepare them for the credential issuance process.
Security requirements:
To create a request, the following is required.
-
The user to be requested is in the directory that the IDMS is configured to search.
-
The operator has been granted the Requestor role.
-
If submitting photo and user attribute data, operator has been granted Enrollment Officer Role
|
Step |
Procedure |
Example |
|---|---|---|
|
1 |
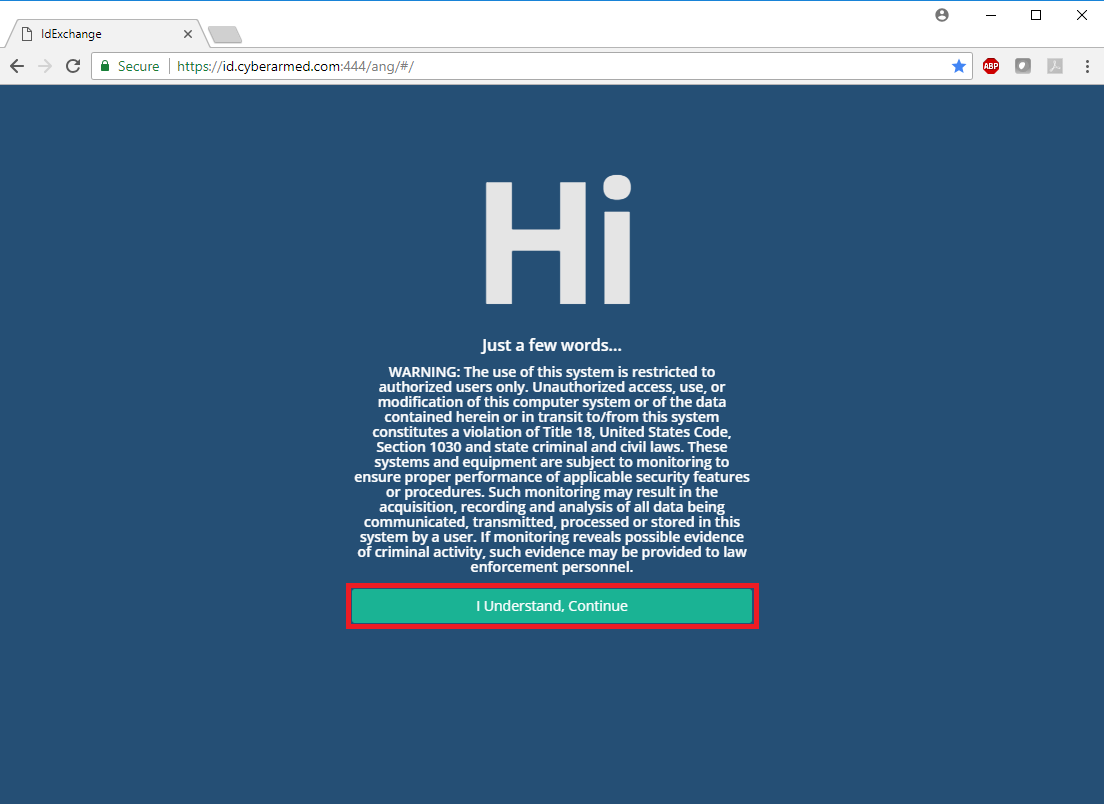
Browse to https://DNS:444/Ang#
In the example, the DNS is idexchange.cyberarmed.com. Next, read the warning and then press "I understand, continue" to log in. |
|
|
2 |
Once authenticated, click on the "PIV" tab and then click the "Request" tab. The User Request Portal will load. |

|
|
3 |
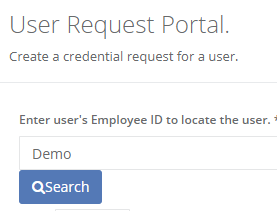
Next, enter the directory ID of the person to be searched and then press "Search".
*Note: The search page will indicate the search criteria required for each data source. The directory search configuration can be found in the Administration, System Connection configurations. Review the LDAP Search Filter value. This is the value the IDMS will search when performing the lookup for the user.
|
|
|
4 |
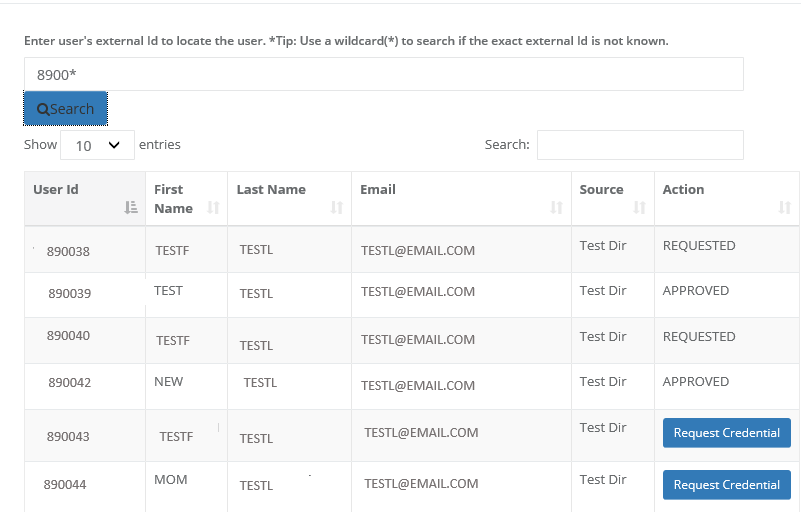
After the users are listed, click the "Request Credential" button for the user to process. |
|
|
5 |
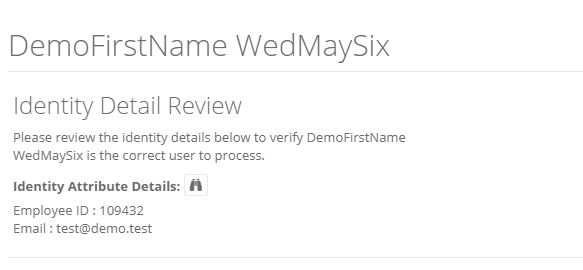
Review the user's base biographic information including first and last name and email address. To view additional details about the user, press the binocular button. |
|
|
6 |
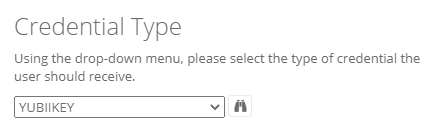
Select the credential type for the user. The credential type defines the type of credential the user will receive (for more information, please refer to the Configuring Credential Types section.) To view the rule details, click the binocular button |
|
|
7 |
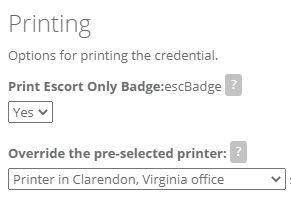
OPTIONAL Printing Settings Based on the credential type selected, Printing Options may appear. Print Escort Only Badge: Select Yes to print override the existing print layout type and print an escort badge. Override the pre-selected printer: Select the printer to redirect the print job to. |
|
|
8 |
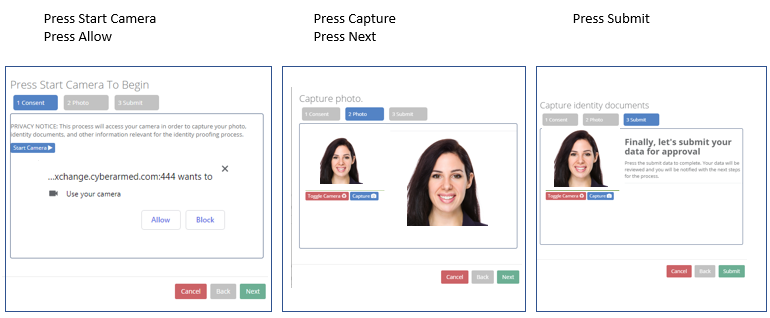
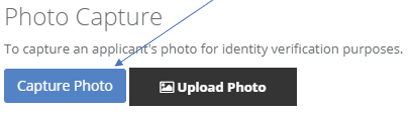
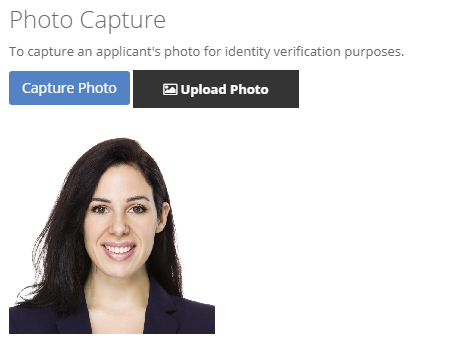
OPTIONAL Photo Capture Based on the credential type selected, Photo Capture options may appear. Press the Capture information button to begin the photo capture process. |
|
|
9 |
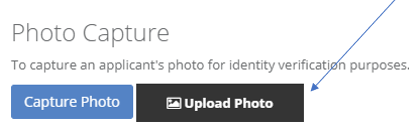
OPTIONAL Photo Upload Based on the credential type selected, Upload Photo options may appear. Press the Upload Photo Button. Next select the photo to be uploaded. Once the photo is selected, a preview of the photo will show below. |
|
|
10 |
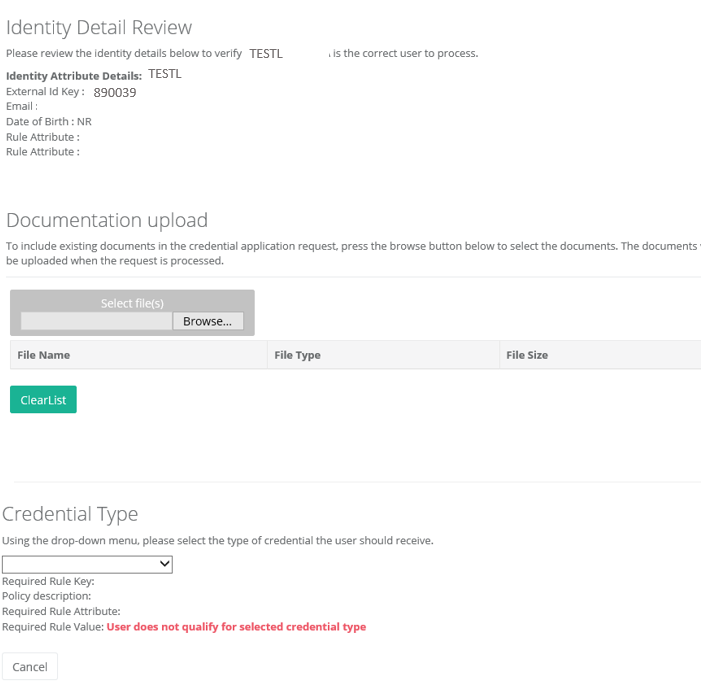
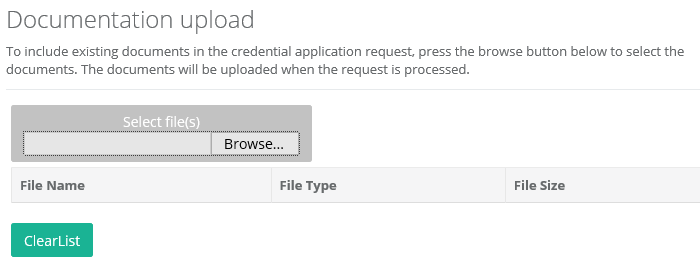
Next, if the user has any existing documents to be included with the request, press the Browse button to select the documents. |
|
|
11 |
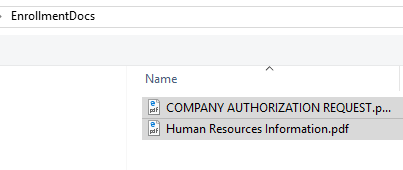
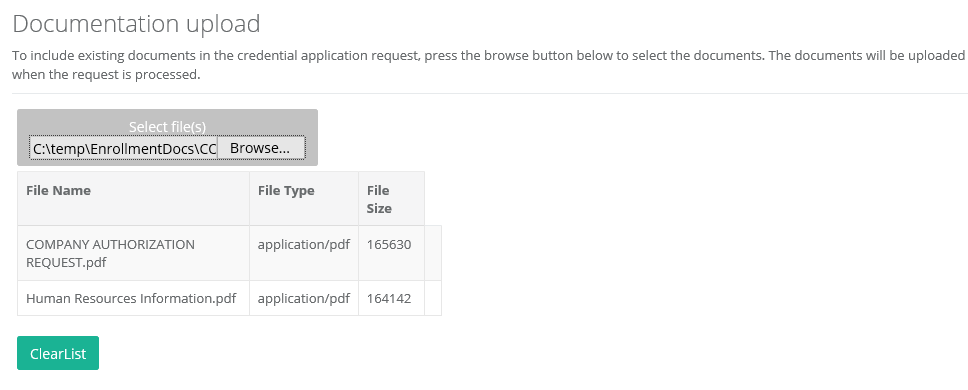
OPTIONAL If the applicant has existing documentation or other elements that need to be stored with the credential request, the Document Upload feature can be used. To upload a file, perform the steps listed in the right.
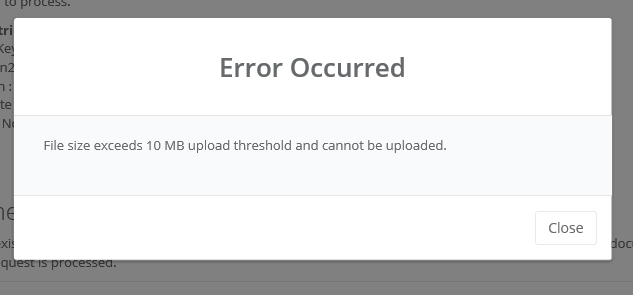
WARNING For security and performance purposes, the maximum upload is set to 10MB. For files larger, it is recommended the files be compressed or reformatted in a manner that will resize the package to under 10 MB. |
Go to the document upload section and click Browse. Browse the file system and locate the document to be uploaded. *Tip: to select multiple documents, hold down the control button and click on the documents to be uploaded. Then press the Open button button in the file explorer window to confirm the selection. The files will then be listed in the table. |
|
12 |
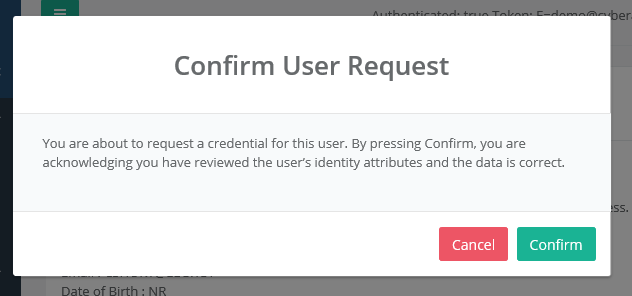
Press Confirm to confirm the user request and finalize the request. |
|
|
13 |
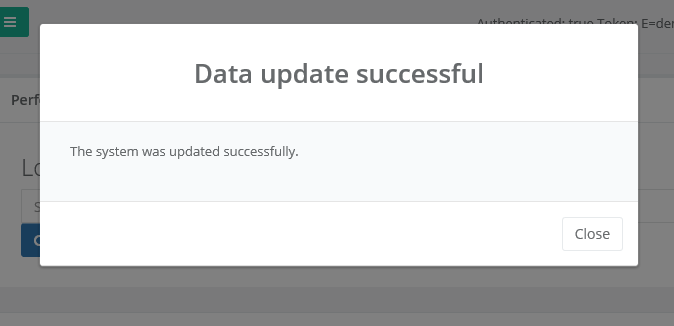
Once complete, the system will provide a success message. |
|
|
14 |
The request process is complete. |