In this phase, the PIV credential will be printed with the user's photo and biographic information.
Setup checklist
- In the credential policy, the Print Credential is set to YES and the printer serial number is in the selected printer list.
- The user is in an 'APPROVED' state
- The required drivers are installed as listed in the printer module instructions Print Module
|
Step Number |
Procedure |
Example |
|---|---|---|
|
1 |
On the desktop, double-click the “Personal Credential Assistant” link. This will launch the application. |
|
|
2 |
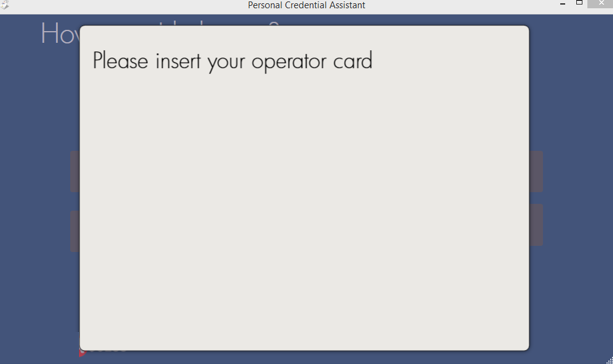
Insert your PIV Card (if not already inserted). The application will automatically start reading the credential. |
|
|
3 |
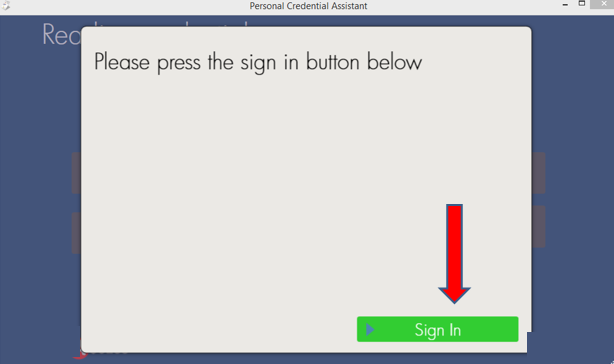
After the credential has been processed, press the "Sign In" Button. |
|
|
4 |
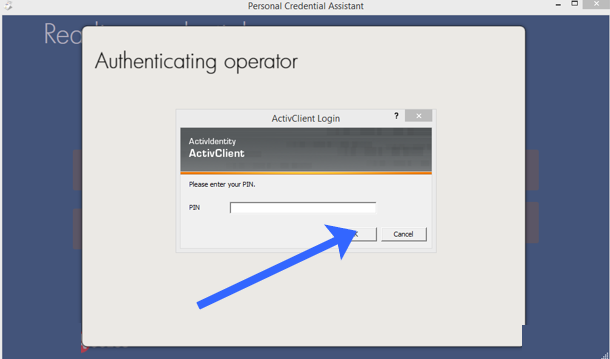
Enter your PIV Credential PIN and press OK. |
|
|
5 |
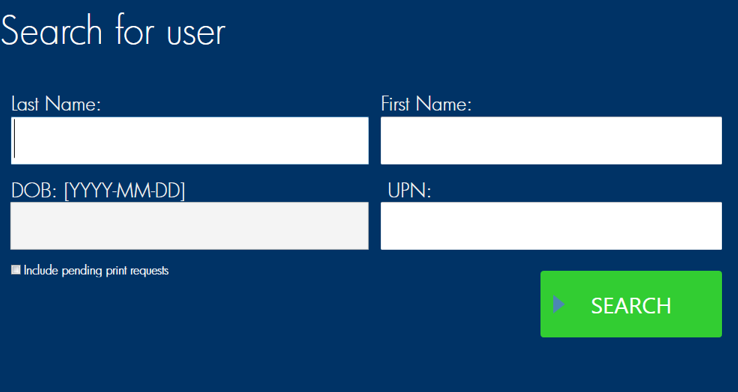
After successfully authenticating, the search screen will appear. |
|
|
6 |
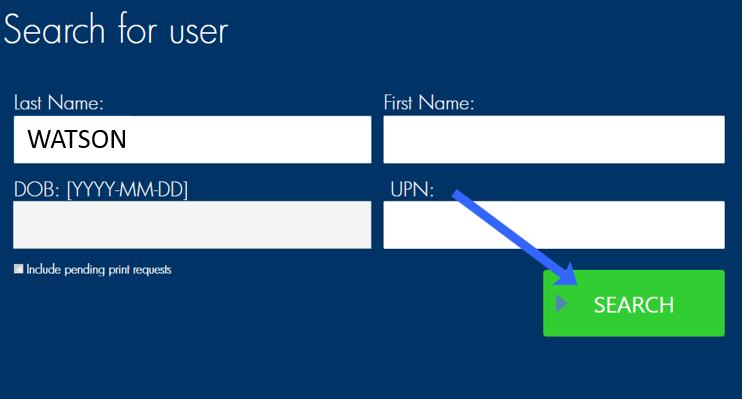
Search by last name to and then press search. In this example, we are searching for the user with the last name of "Watson". After entering the name, press Search. |
|
|
7 |
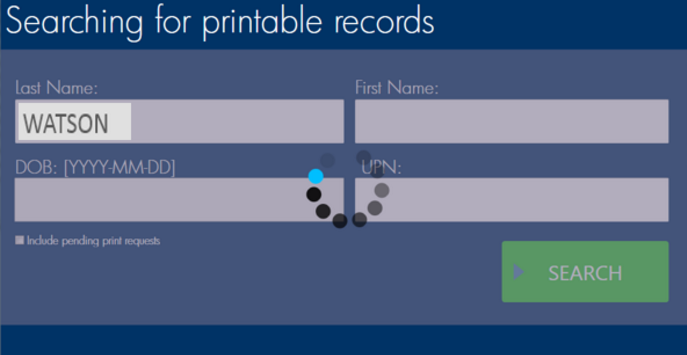
PCA will search for the records. |
|
|
8 |
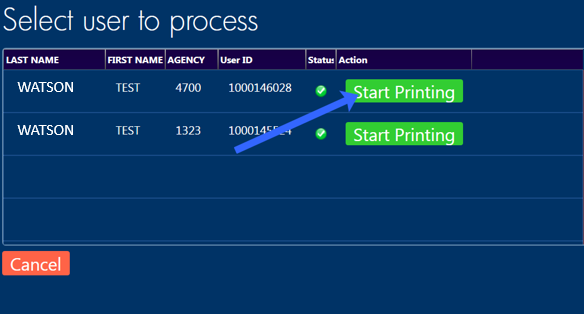
Next, select the user to be printed by pressing the "Start Printing" button |
|
|
9 |
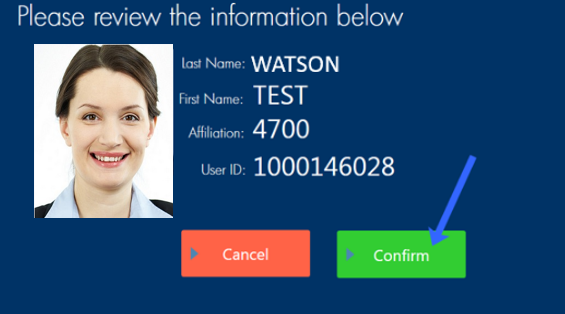
PCA will retrieve the data. When PCA locates the record, it will show the Last Name, First Name, and Image of the credential. To start the printing, press the "Confirm" button. |
|
|
10 |
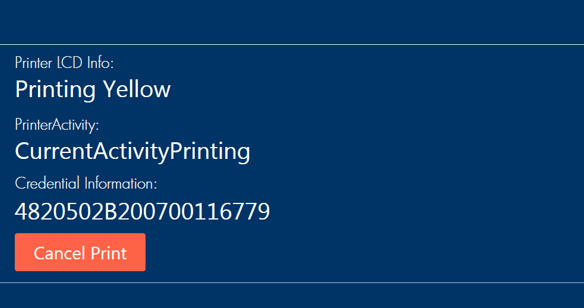
Next, PCA will read the credential serial number and then will start printing. The printer feedback will also be displayed on the screen. |
|
|
11 |
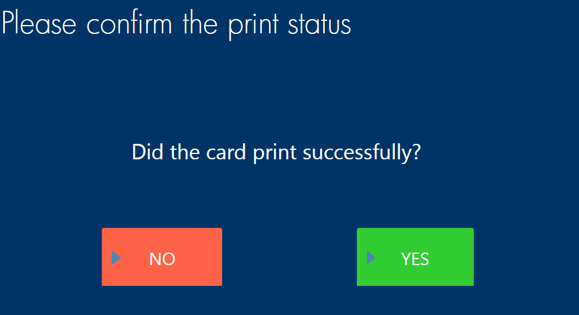
When the card has completed printing, PCA will ask for the operator to confirm the print status. If the print was successful, press the YES button to confirm and complete. |
|
|
12 |
When PCA is complete, it will automatically return to the search screen to allow the operator to locate the next user. |
|