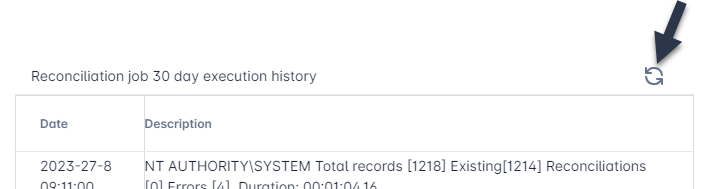
The reconciliation report provides the transaction detail of the accounts that were updated within the Relying Party. This report enables the operator to determine which accounts were synchronized, what failures occurred, as well as any potential integrity issues present in the relying party.
Required Permissions
System Manager
Viewing the report
-
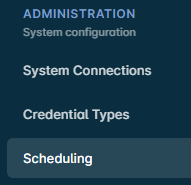
Login with the SystemManager role and go to the Administration, Scheduling
-
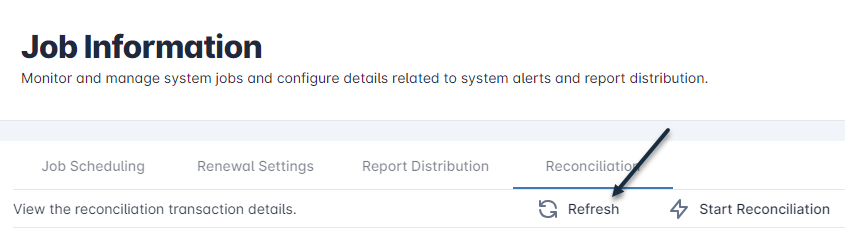
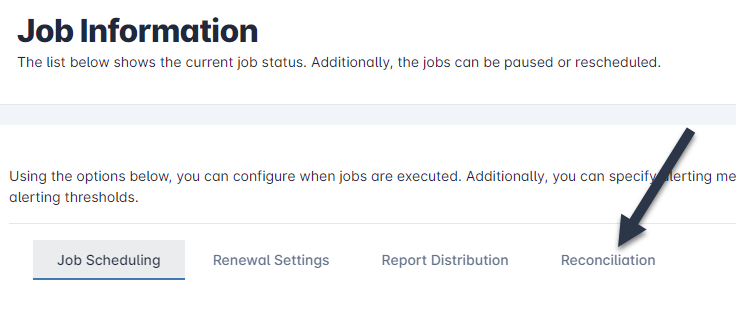
In the Job Information panel, click the Reconciliation tab and click the Refresh Button
-
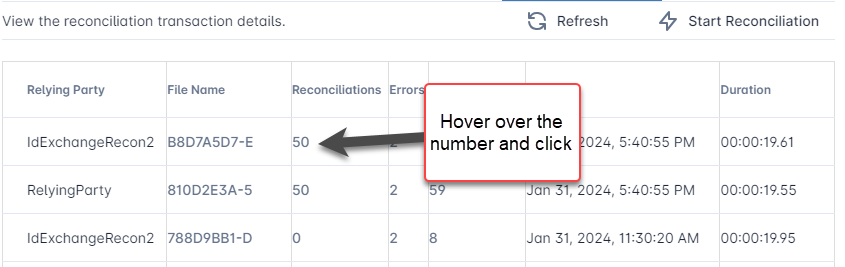
In the table, hover over the row and click to bring up the detailed report. In the example below, the number of reconciliations will be viewed
-
The details of the transaction will be displayed
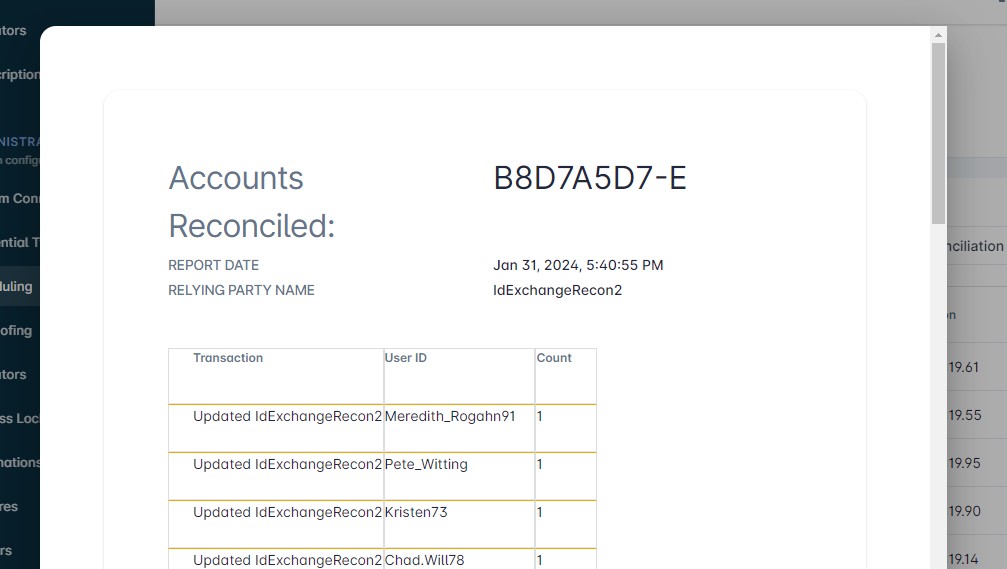
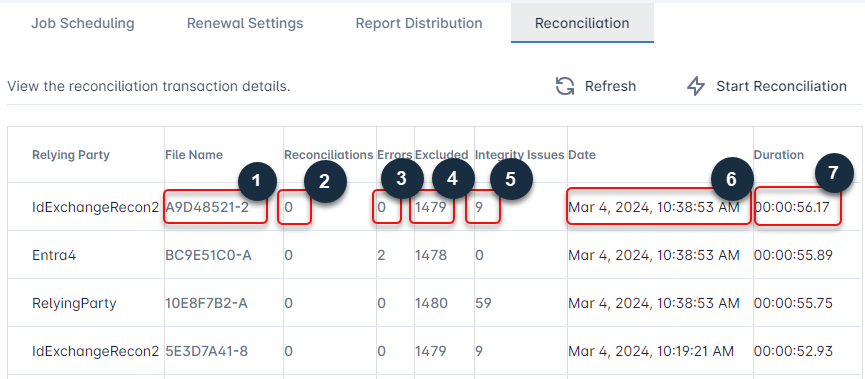
Interpreting the results
|
1 |
Full report |
A downloadable report of all the reconciliation transactions for the given job run. |
|
2 |
Reconciliations |
The number of CMS accounts that were added or updated in the Relying Party |
|
3 |
Errors |
The number of failed reconciliations that were not able to be added or updated in the Relying Party |
|
4 |
Excluded |
The number of records that were excluded from reconciliation because their credential policy assignment was not checked for the automation rule. |
|
5 |
Integrity Issues |
Listing of data integrity issues within the Relying Party that should be reviewed Duplicate certificate, account ID, device Id data Orphaned accounts where the account remains in the relying party even after being removed from the CMS |
|
6 |
Date |
The time and date the reconciliation job was completed. |
|
7 |
Duration |
The amount of time required to complete the reconciliation. |
Required Permissions:
System Manager
Reviewing Job Results
-
In the job information tab, click the Reconciliation tab
-
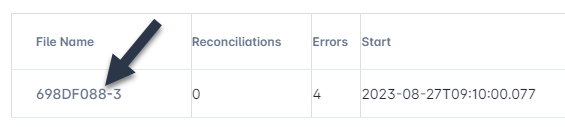
After the job has been executed, the transaction file can be downloaded to determine the records that were successfully reconciled and the ones that failed.
-
To see the jobs that were ran in the last 30 days, press the refresh button.