
Procedures to install the IDMS Server.
To install the IDMS Server
-
Login to the operating system as the service account that will run the IDMS service.
-
Extract installation folder to C:\temp
-
Open an administrative command prompt and then move to the directory the HID PIV IDMS.exe or IdExchange.exe binary is located
-
Type the command "HID PIV IDMS.exe" or "IdExchange.exe" depending on the binary that is present.
-
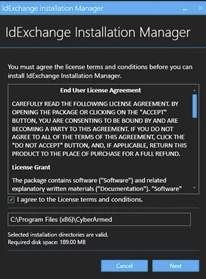
Read the license agreement. If in agreement, press Next
-
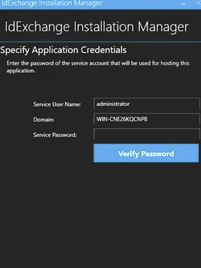
Enter the password and press Verify Password. *This should be the account and password of the service account that will run the IDMS service.
-
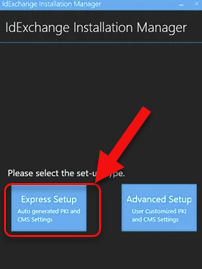
Press the Express Setup Button
-
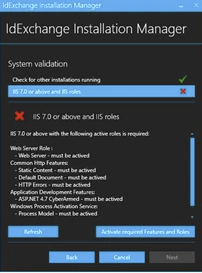
Press Activate required Features and Roles
-
Press after the features have been installed, click Next
-
If using an existing database, Click "User Existing Database", If using a new database, Click "Install New Database and press Next"
-
Enter the SQL Database server address and select the authentication type. If Windows Authentication, no password is required. Press Test Database Connection
-
After database test is successful, press the Next Button
-
The installation will proceed. This process may take 1 - 2 minutes.
-
Close the installer
-
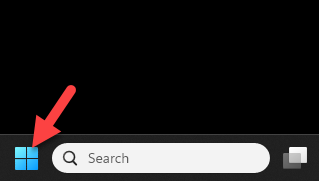
In the lower left corner of the Windows desktop, click click the Windows Icon to list the Application Menu.
-
Right click on the IDMS Configuration Assistant and “Run As Administrator”
-
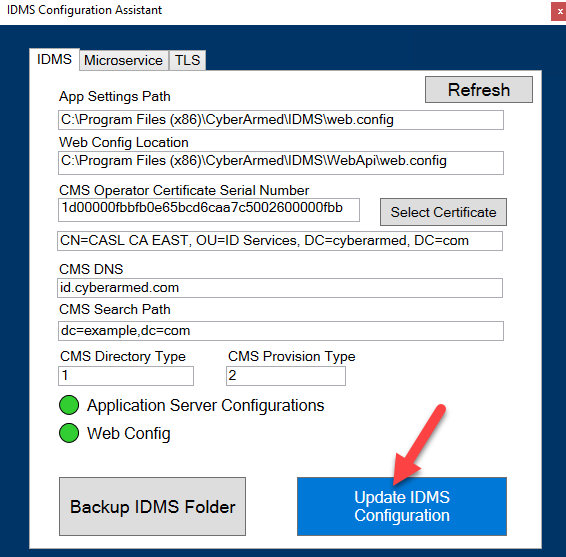
When the IDMS Configuration Assistant Launches, press the “Update IDMS Configuration” button.
-
Confirm the update. Once updated, close the IDMS Configuration Assistant.
Verifying the installation
-
On the desktop, click the IDMS portal shortcut. Select the certificate issued by the CyberArmedPivITCA and press ok
-
Click I understand, Continue
-
NOTE: The first logon will take approx. 2 minutes. The system is performing configurations