Overview
This document lists the steps for the officer and applicant to perform remote identity proofing and YubiKey encoding.
Participants
There are two individuals in this process:
-
Officer: The officer is the security official that reviews the request, approves information, and manages the YubiKey.
-
Applicant: The applicant is the individual that will perform the remote proofing and YubiKey encoding.
What is Required
-
Workstation (preferably Windows 10 machine)
-
Email account (the applicant will need to open an email to retrieve the login credential)
-
The Credential Type Configuration specifies the certificate authority
Phases
The overall process is composed of 4 different phases.
|
Participant |
Phase Name |
|
Officer |
Invite the applicant |
|
Applicant |
Prepare workstation, register ID and device |
|
Officer |
Review information, approve information |
Invite the Applicant
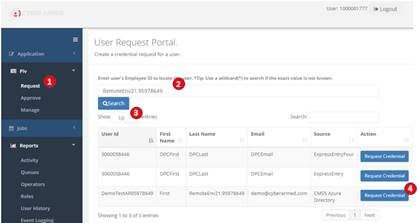
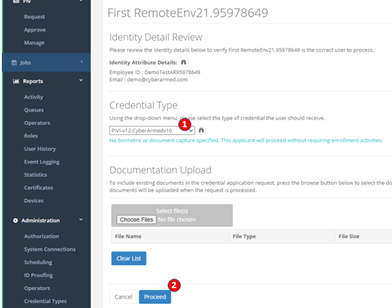
In this phase, the officer will send an invitation to the applicant by requesting their data to be processed. The invitation will include the credential and code for secure registration.
|
Log in as the operator
|
|
|
|
|
Prepare workstation and enroll data
In this phase, the applicant will prepare their workstation. Next, they will enroll their data and register their YubiKey.
Before getting started:
-
Ensure web cam is operational
-
Ensure factory set YubiKey is inserted and operational
|
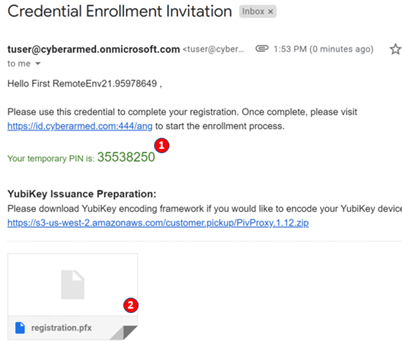
Copy the temporary PIN into memory
Download and double click the registration.pfx file
|
|
|
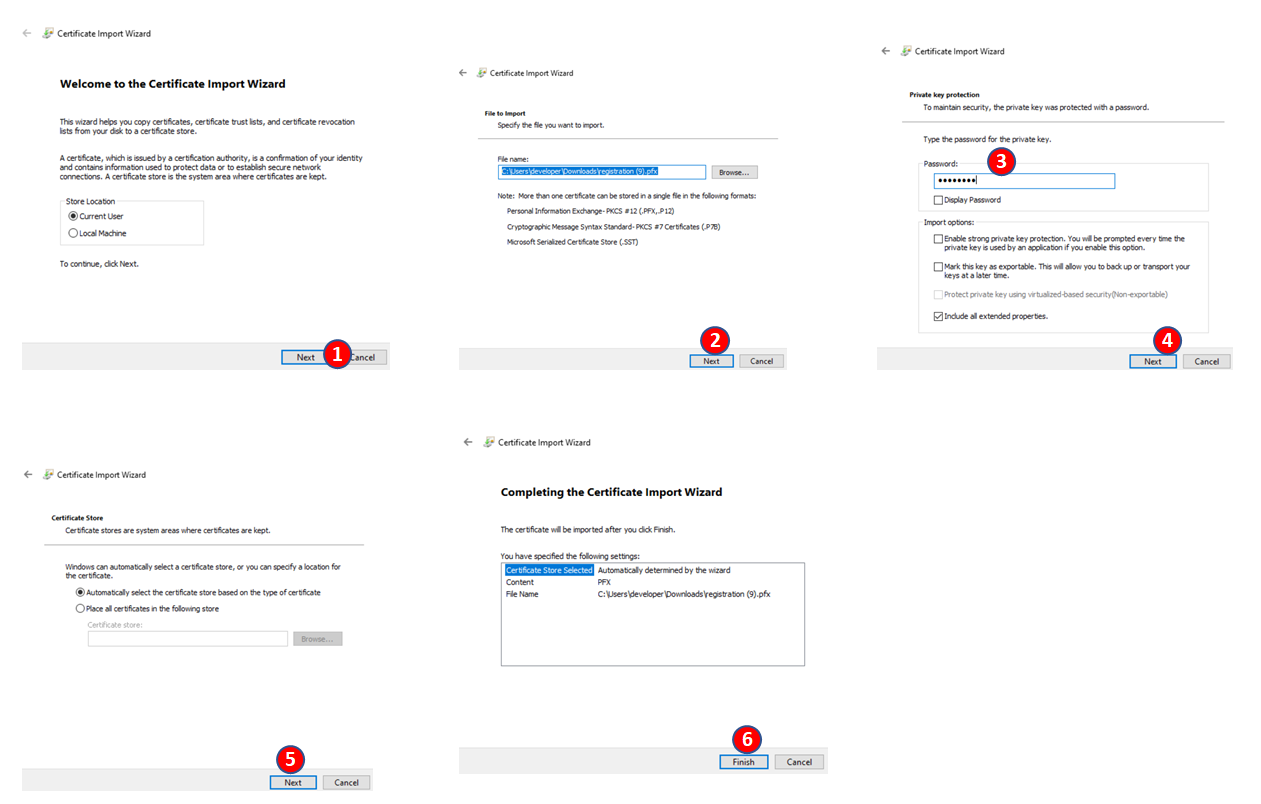
Install the PFX
|
|
|
|
|
|
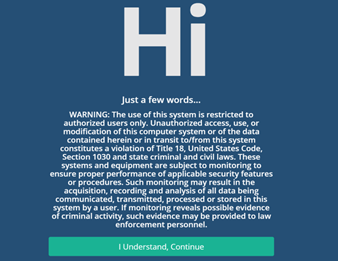
Log into the IDMS with the PFX that was just installed, press I Understand, Continue button |
|
|
|
|
|
|
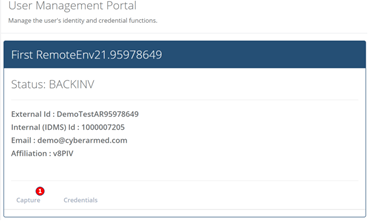
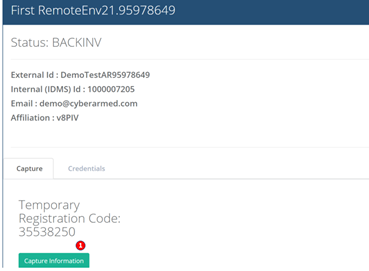
|
|
|
|
|
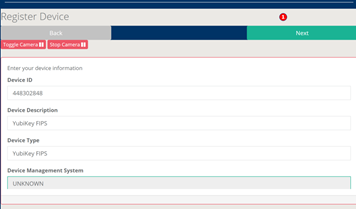
3. Press Next |
|
|
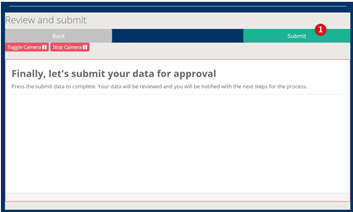
4. Press Submit |
|
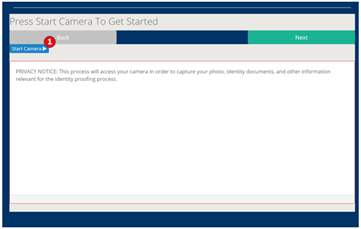
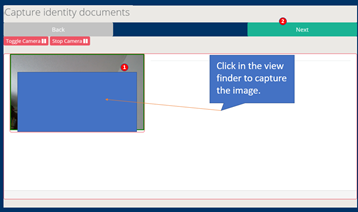
Officer Approval
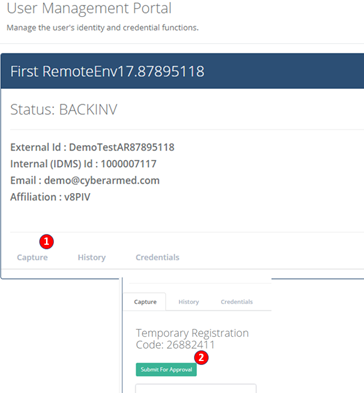
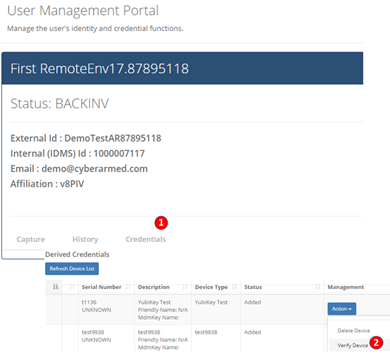
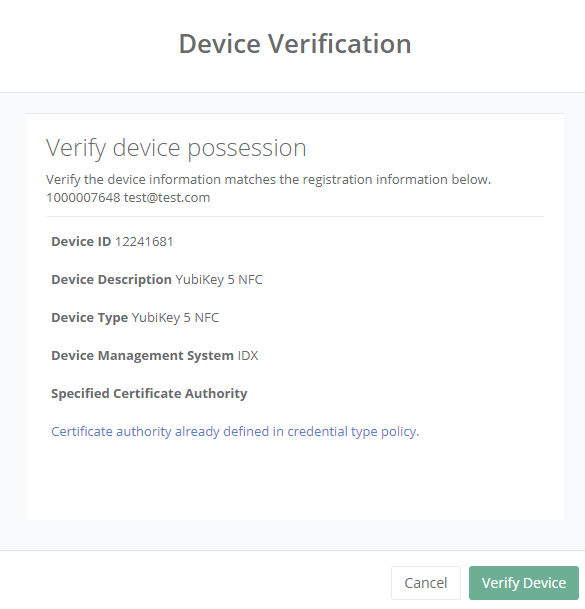
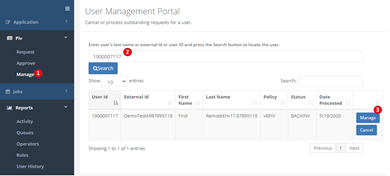
In this sequence, the officer will log in and review the documentation. They will then review and verify the credential.
|
|
|
|
|
|
|
|
|