
The IDMS workstation can be configured to capture a handwritten signature. The procedures below describe the installation instructions to install the Topaz Signature Drivers.
Note: The Topaz Signature Module software is not distributed in the IDMS Workstation Installation Package. Instead, this software is obtained with the specific Topaz Reader that was purchased.
Consult your Topaz user guide to obtain the latest Topaz Signature Module Software.
To Install the Topaz Web Based Capture
|
Item |
Procedure |
Link |
|---|---|---|
|
1 |
Download the Topaz Signature Pad USB Driver. |
|
|
2 |
Install the USB Driver for the model of Topaz Signature Pad you have. When prompted, select "Yes" to place the Topaz test utility DemoOCX32 on your desktop.
|
Model number on bottom of Topaz module. Select COM 1 as the connection type to get started. |
|
3 |
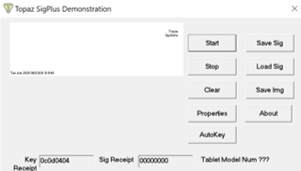
Run the DemoOCX32 application to verify the signature pad is operational. |
|
|
4 |
Download and install the SigPlusExtLite SDK which captures electronic signatures from web applications. Reference materials: https://topazsystems.com/sdks/sigplusextlite.html |
|
|
5 |
Install the Topaz SigPlusExtLite Microsoft Edge Browser Extension from the Chrome Web Store. |
|
|
6 |
Test using the SigPlusExtLite sample web site.
|
www.sigplusweb.com/SigPlusExtLite/v3/Demo/sign_chrome_ff_sigplusextlite.html 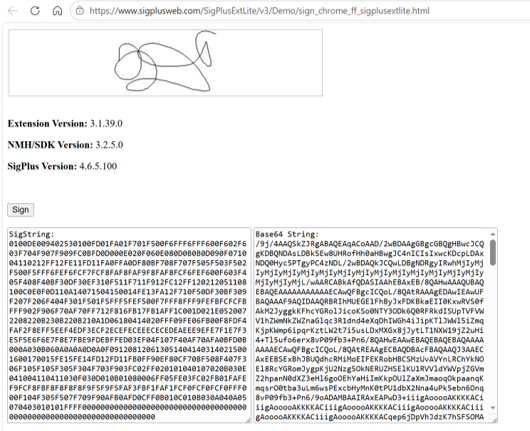
|
Troubleshooting the Topaz Web Based Capture
If the extension fails to connect, review the service worker logs. If the error “message”: “access to the native messaging host was disabled by the system administrator appears, have IT operations perform the following:
-
Whitelist the Topaz Extension in GPO
-
Update the GPO to allow the Topaz signature host:
-
Policy Name: NativeMessagingAllowlist
-
Value: com.topaz.sigidextlite.win and com.topaz.sigplusextlite.win.2
-
Path: SOFTWARE\Policies\Google\Chrome\NativeMessagingAllowlist
-
To Install the Topaz Desktop Capture
|
Item |
Procedure |
Link |
|---|---|---|
|
1 |
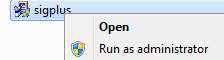
Right click on the SigPlus installer and run as administrator. |
|
|
2 |
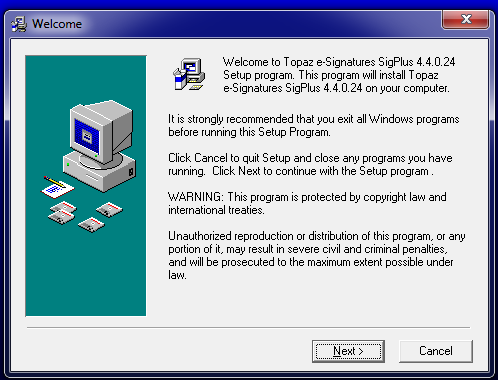
Read through the wizard prompts, then press Next. |
|
|
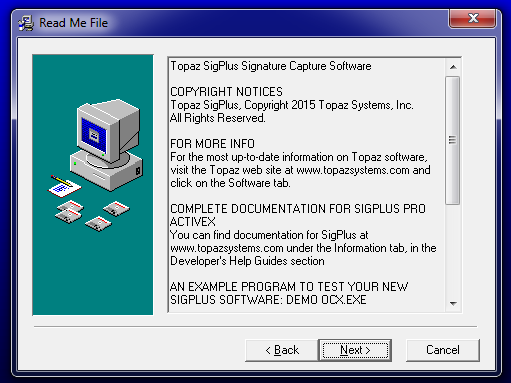
3 |
Read through the wizard notifications, then press Next. |
|
|
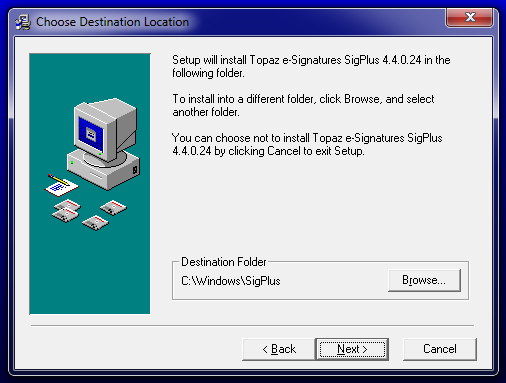
4 |
Select folder for storage. Press Next. |
|
|
5 |
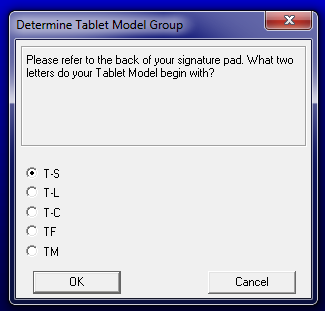
When the Determine Tablet Model Group window appears, look at the back of the Topaz Signature Capture to obtain the Model.
Once the selection has been made, press the OK button. |
|
|
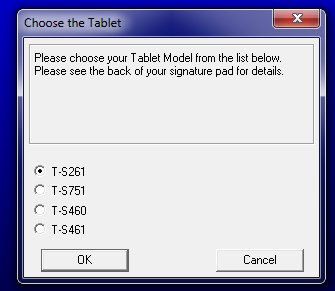
6 |
When the Choose the Tablet window appears, look at the back of the Topaz Signature Capture to obtain the Model. Select the model number and press OK. |
|
|
7 |
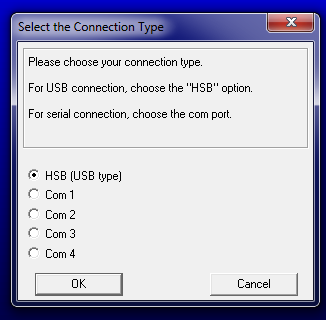
Select the connection type as USB and press OK. |
|
|
8 |
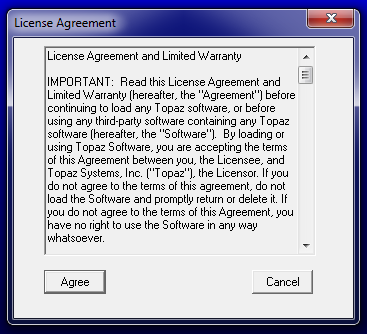
Agree to license agreement and Press Agree. |
|
|
9 |
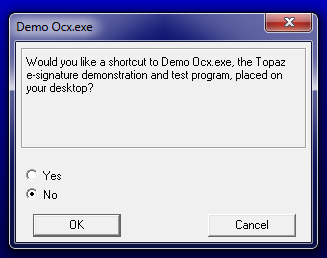
Select No for the Demo Ocx.exe to be installed on the desktop, then select OK. |
|
|
10 |
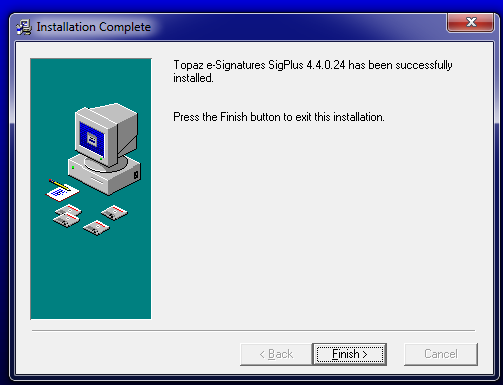
Press Finish to complete the setup. |
|
|
11 |
Plug in the Topaz Signature Pad into the computer. The Topaz Signature Pad installation is complete. |
|