Directory Connections
IDMS can connect to Active Directory to retrieve users that need to be credentialed. The processes below provide the steps to configure a directory-based connection as well as perform maintenance and deletion functions.
Prerequisites
System Administrator user role permissions are required. Role Definitions
Configuring a Directory for System Connection
Item | Procedure | Example |
|---|---|---|
1 | Authenticate to the IDMS as a system administrator. Once logged in, go to the Administration, then the System Connections tab. | 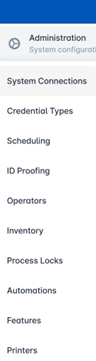 |
2 | Select + System Connection, then select Directory. A new panel will open to enter the directory details. | 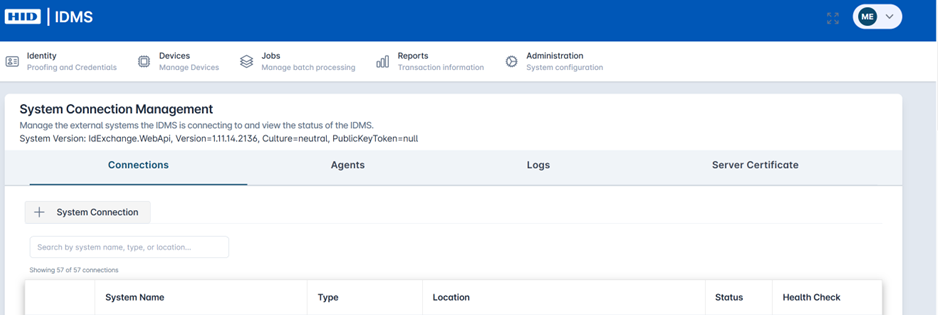 Create New System Connection 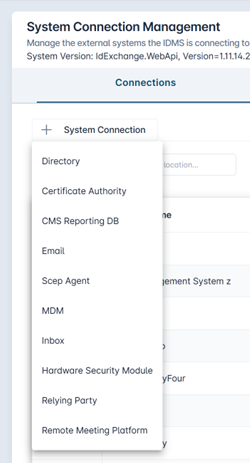 Add a New Directory |
3 | Next, complete the following information:
| 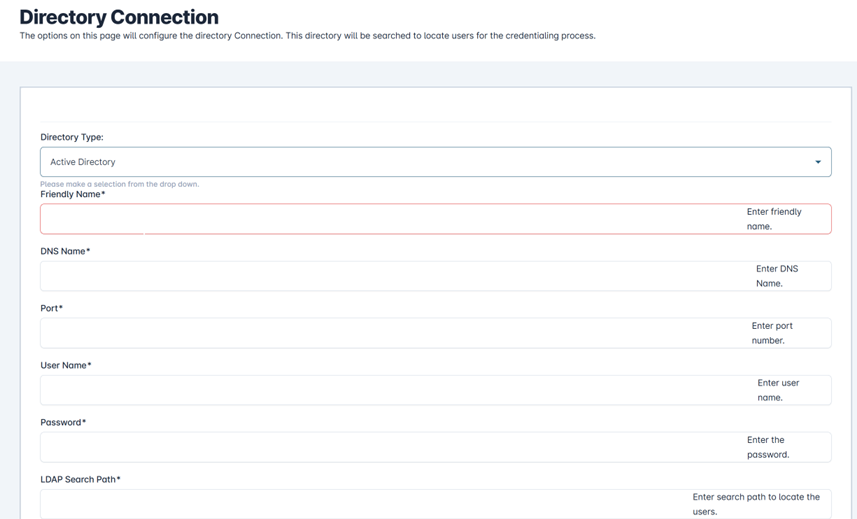 Directory Page Sample LDAP to IDMS Linking Key: RedHat Directory: UID ActiveDirectory: samAccountName 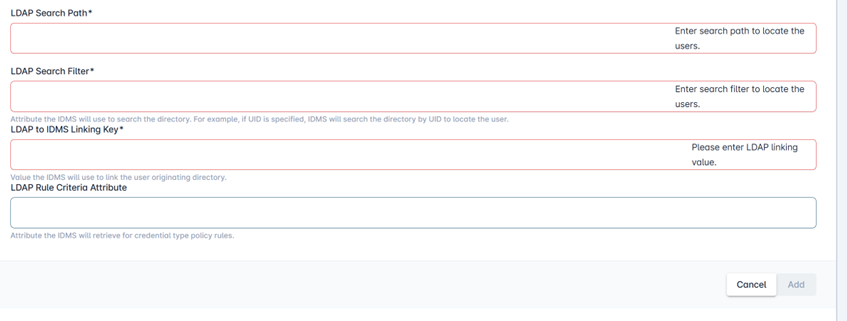 LDAP Supporting Fields |
4 | Once the data is entered, press Add. The system will return to the system information screen showing the new directory. | |
5 | Next you can test the connection. From the System Connections screen, press the gear icon next to the directory and select the Test Connection button. The result will appear in the Health Check field, displaying status, timestamp, and duration. | 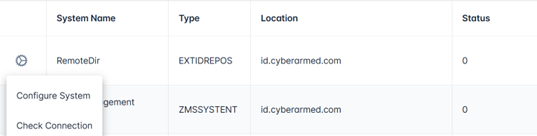 |
Modifying an Existing Directory
Item | Procedure | Example |
|---|---|---|
1 | Once logged in, go to the Administration, then the System Connections tab. | |
2 | Go to the System Connections screen, then press the gear icon next to the directory and select the Configure System button. | |
3 | The system parameters can be updated. The User must also enter the password to make changes. Once the data has been updated, press Update to complete. |  |
4 | Then you can test the updated connection. From the System Connections screen, press the gear icon next to the directory and select the Test Connection button. The result will appear in the Health Check field, displaying status, timestamp, and duration. |
Deleting an Existing Directory
Item | Procedure | Example |
|---|---|---|
1 | Once logged in, go to the Administration, then the System Connections tab. | |
2 | Go to the System Connections screen, then press the gear icon next to the directory and select the Configure System button. | |
3 | Once inside the Directory Configure screen, select the Delete System button to remove the directory. Then press Save. | 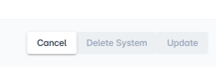 |